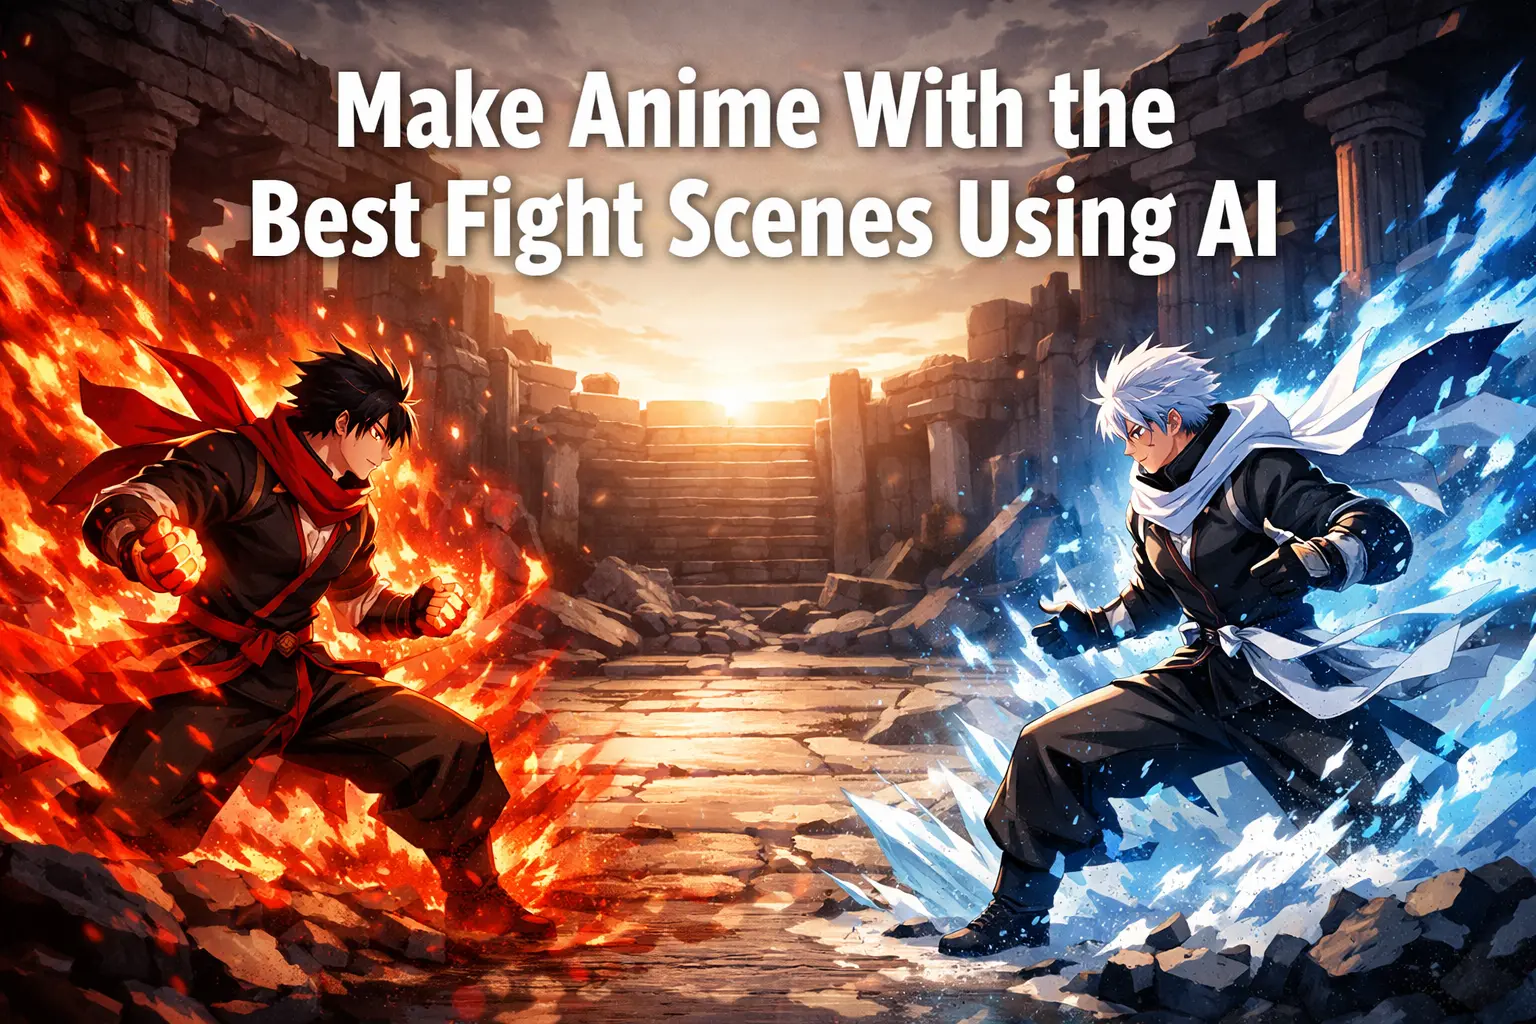
Great fight scenes don’t come from lucky AI prompts—they come from thinking like a director. Type “epic anime battle,” and you’ll get chaos: broken motion, flat shots, unreadable action. To create scenes that actually feel cinematic, you need a structured workflow. This guide shows you how to plan, build, and animate fights step by step—even with AI tools.
Why Most AI Fight Scenes Look Cool for 2 Seconds and Then Fall Apart
Most beginners ask AI to solve too many problems at once.
They want the tool to invent the story beat, stage the characters, design the pose, add the energy effect, choose the camera, animate the movement, and keep both characters consistent across several shots. That is simply too much. Even very strong models can produce flashy frames, but a full fight scene requires continuity. The audience needs to understand who is attacking, who is reacting, where the impact lands, and why the battle escalates.
A memorable fight scene is not just motion. It is sequence.
Think about the anime with the best fight scenes. The reason those battles stay in your head is not only because the animation is beautiful. It is because each moment leads logically into the next. A stare-down becomes a dash. A dash becomes a block. A block opens a counterattack. Then the pressure rises into a finishing move. The chain matters.
AI works better when you feed it the chain one link at a time.
Step 1: Start With the Fight Idea, Not the Prompt
Before you open your image or video generator, decide what this fight is actually about.
Who are the two fighters? What makes them different? What is the emotional tone of the battle? Is this a fast sword duel, a magic clash, a martial arts showdown, or a dark supernatural confrontation? Even a short one-minute AI fight needs a dramatic spine.
A smart beginner workflow is to define three things first: combat identity, escalation path, and finishing moment.
Combat identity means each character should feel visually and behaviorally distinct. Maybe one uses fire and aggressive forward motion while the other uses water, ice, and defense. Maybe one is fast and reckless while the other is calm and technical. This contrast helps AI understand the scene better, and it helps the viewer read the battle faster.
Escalation path means you already know how the fight grows. Start with a face-off, then a test move, then a bigger response, then close-range exchange, then a high-impact finisher. Without escalation, even beautiful shots feel repetitive.
The finishing moment is especially important. Many AI videos start strong and then go nowhere. Decide early what the climax looks like. A sword break. An energy collision. A final kick. A dragon-shaped spell. Whatever you choose, let the entire sequence build toward that visual payoff.
Do not write one giant paragraph prompt at this stage. Just map the scene like a mini film.
Step 2: Create Character Reference Sheets You Can Reuse
Character consistency is the foundation of a good AI fight scene.
If the hair color changes, if the outfit mutates, if the face becomes a different person every shot, the audience stops caring. That is why you should not start by generating random action shots. Start by building strong reference images for each fighter.
Aim for full-body character sheets first. Show the outfit clearly. Keep the hairstyle simple enough to remain stable. Choose one main weapon or energy type. Decide the body build and silhouette. Give the character a readable visual identity. If one fighter is lean, sharp, and dark, make the other broader, brighter, or more fluid. AI handles contrast better than subtlety.
You also want neutral reference shots, not only dramatic ones. A front view, a three-quarter view, and maybe a calm standing pose are more useful than one screaming action portrait. These references become the anchor for later generations.
When people try to make anime with the best fight scenes using AI, they often obsess over the final explosion but skip the character lock stage. That is a mistake. The cleaner your base references, the easier every later step becomes.
Step 3: Build the World Before You Build the Action
Fight scenes feel better when the environment is established first.
Even if the battle is only 20 to 40 seconds long, you should know where it takes place and what mood that place creates. Is it a ruined shrine? A neon rooftop? A rainy alley? A moonlit forest? A volcanic valley? The environment affects color, lighting, and the way effects show up on screen.
Generate a few environmental anchor images before you animate anything. These should include wide shots and mid shots that define your setting. Then create a few cinematic portraits of each fighter inside that world. This helps unify the color palette and makes the fight feel like it belongs to one coherent space.
This is also where you should choose your visual language. If you want a high-drama anime battle, you may prefer backlight, strong rim light, drifting smoke, glowing particles, and directional shadows. If you want a classic shonen vibe, brighter contrast and clearer action readability may work better.
World-building does more than make the scene pretty. It gives your later action frames a visual home.
Step 4: Make Keyframes, Not Full Videos
This is where the workflow becomes powerful.
Instead of asking an AI video generator to create an entire fight from scratch, create a library of still images that represent the key moments of the battle. These are your keyframes. Think of them as frozen action beats.
A useful first batch might include the following: the face-off, the power-up pose, the first charge, the first attack, the block, the counterattack, the mid-fight close-up, the final move wind-up, and the finishing clash.
Each keyframe should capture one clear action state. That is important. Do not try to cram too much into a single frame. A strong keyframe answers one question well. “What is happening right now?” The character is drawing the sword. The fireball is forming. The kick is connecting. The shield is rising. The enemy is sliding back.
AI is much easier to control when you reduce the scene to single readable moments.
This is also the stage where you start building the visual rhythm of the fight. Alternate wide shots with tighter shots. Mix symmetrical tension with diagonal movement. Leave room for effects without covering the characters. Think about how one still frame will connect to the next.
Step 5: Use Pose Guides So the Action Actually Reads
Fight choreography is where many AI projects collapse.
If you rely only on text prompts, the model may misunderstand body mechanics. Two fighters rushing toward each other can turn into two people jogging side by side. A kick can become a floating leg. A sword clash can become crossed spaghetti arms.
The fix is simple: use pose guidance.
This can be as rough as stick figures, basic action sketches, 3D pose mannequins, or even screenshots from your own mock blocking. The point is not beauty. The point is spatial clarity. You are telling the model where each body should be and how they relate to one another.
For example, if one fighter is doing a rising kick and the other is turning to guard, sketch that relationship first. Then use your character references plus the pose guide to generate the actual anime frame. This reduces randomness and makes your choreography more believable.
A helpful rule is to focus on one move per generated frame pair. One dash. One punch. One dodge. One impact. Complicated chains are built later in editing, not all in one shot.
This is also the moment to think about screen direction. If Character A moves left to right in one shot, do not randomly reverse that in the next unless you intentionally change the camera position. Clear screen direction makes the fight easier to follow and instantly more professional.
Step 6: Add Camera Angles Like a Director
A fight scene with only eye-level medium shots will feel flat, no matter how pretty the characters are.
If you want anime with the best fight scenes, camera language matters almost as much as choreography. A low-angle shot can make a character feel terrifying. A high-angle shot can make a fighter look exposed or trapped. A wide shot can sell scale and speed. A close-up before impact can heighten tension.
Plan your camera changes with purpose. Use your establishing wide shot at the beginning. Use a low-angle power-up frame for dominance. Cut tighter when emotions matter. Pull back for the finishing move so the audience can fully read the action.
Do not overdo movement just because AI can animate movement. A good fight scene alternates energy and clarity. Sometimes the most effective shot is a still, tense close-up with sparks drifting between two opponents.
When generating camera-angle keyframes, it helps to mention terms like low angle, overhead view, extreme close-up, wide cinematic shot, or dynamic three-quarter perspective. But the real control comes from the image structure, not just the prompt. That is why your keyframes and pose guides matter so much.
Step 7: Design Energy Effects Separately
This step saves a huge amount of frustration.
Beginners often ask the model to generate the characters, the pose, the background, the impact debris, the glowing aura, and the magical creature effect all in one frame. The result is usually muddy. The scene loses readability because the effect dominates the screen.
Instead, design your VFX states separately. Create still frames for the fire aura, the water shield, the lightning crackle, the explosion bloom, or whatever your battle needs. You can also create multiple stages of the same effect: formation, expansion, release, collision.
Why does this work? Because effects are easier to control when they are treated as their own design problem. Once you know what the fire spiral should look like, you can place it into the scene with more consistency. Once you know what the ice dragon silhouette looks like, you can build the finisher around it.
Separate effects also help pacing. Not every shot needs maximum energy. Sometimes the effect should whisper before it screams.
Step 8: Animate Between Two Clear Moments
Now you are ready for motion.
This is where start-frame and end-frame animation becomes so useful. Instead of generating a full fight clip from text only, you choose two keyframes and ask the video model to animate the transition between them.
For example, frame one shows a fighter drawing power into one hand. Frame two shows the same fighter lunging forward with that energy released. Your job is to describe the change, not the whole universe. That smaller request is much easier for AI to fulfill.
The same applies to defense, dodges, weapon swings, and impact reactions. By connecting short action beats, you create a sequence that feels designed rather than random.
Keep these animated segments short. A few seconds per beat is usually enough. If the model starts drifting, shorten the gap between your starting and ending images. The closer those frames are in logic and pose, the cleaner the output tends to be.
This step is where your earlier discipline pays off. Good references create stable characters. Good keyframes create readable transitions. Good pose guides make the motion feel intentional.
Step 9: Edit for Rhythm, Not Just Continuity
Once you have several short clips, do not simply place them in order and call it done.
Editing is where the fight becomes exciting.
Trim dead frames. Cut earlier than feels safe. Let one action lead directly into the next. Match direction and momentum across shots. Use close-ups as punctuation, not filler. Save your widest and strongest effect-heavy shot for the end or a major midpoint escalation.
Sound design matters too. Even basic whooshes, impacts, crackles, and reverb can transform an average AI clip into something that feels much bigger. A fight without sound feels unfinished. A fight with good timing and impact audio suddenly has weight.
Music can help, but it should not do all the emotional work. The scene itself needs readable action. Use music to support the rhythm, not to hide weak visual storytelling.
Common Mistakes to Avoid
The most common beginner mistake is making every shot “maximum epic.” That sounds fun, but it creates visual noise. A fight scene needs contrast. Quiet before explosion. Space before contact. Focus before chaos.
Another mistake is ignoring anatomy and readability in favor of pure style. Yes, a glowing sword slash looks cool. But if the viewer cannot tell where the blade starts or where the hit lands, the scene loses impact.
A third mistake is overlong shots. AI motion often degrades over time. Shorter segments usually look cleaner and feel more intentional.
Finally, do not chase perfection too early. A good AI fight scene is often built through iteration. You refine references, rework keyframes, adjust timing, replace one bad transition, and slowly strengthen the whole sequence.
That is normal. That is the process.
A Simple Beginner Workflow You Can Actually Follow
If this still feels overwhelming, use this stripped-down version:
First, lock two character reference sheets.
Then create one environment wide shot.
Then make six keyframes: face-off, power-up, dash, strike, reaction, finisher.
Then build one effect design for each character.
Then animate each gap as a short clip.
Then edit everything together and add sound.
That is enough to make a short but impressive anime battle.
You do not need fifty shots. You need six to ten strong beats that connect well.
Final Thoughts
The secret to making anime with the best fight scenes using AI is not finding one magical prompt. It is building the scene the way a filmmaker or animation director would build it: in stages.
First decide the battle. Then lock the characters. Then create the world. Then stage the key moments. Then guide the poses. Then add camera variety. Then build effects. Then animate transitions. Then edit for rhythm and force.
That is how you turn AI from a slot machine into a production tool.
And once you understand that, fight scenes stop feeling random. They start feeling designed.