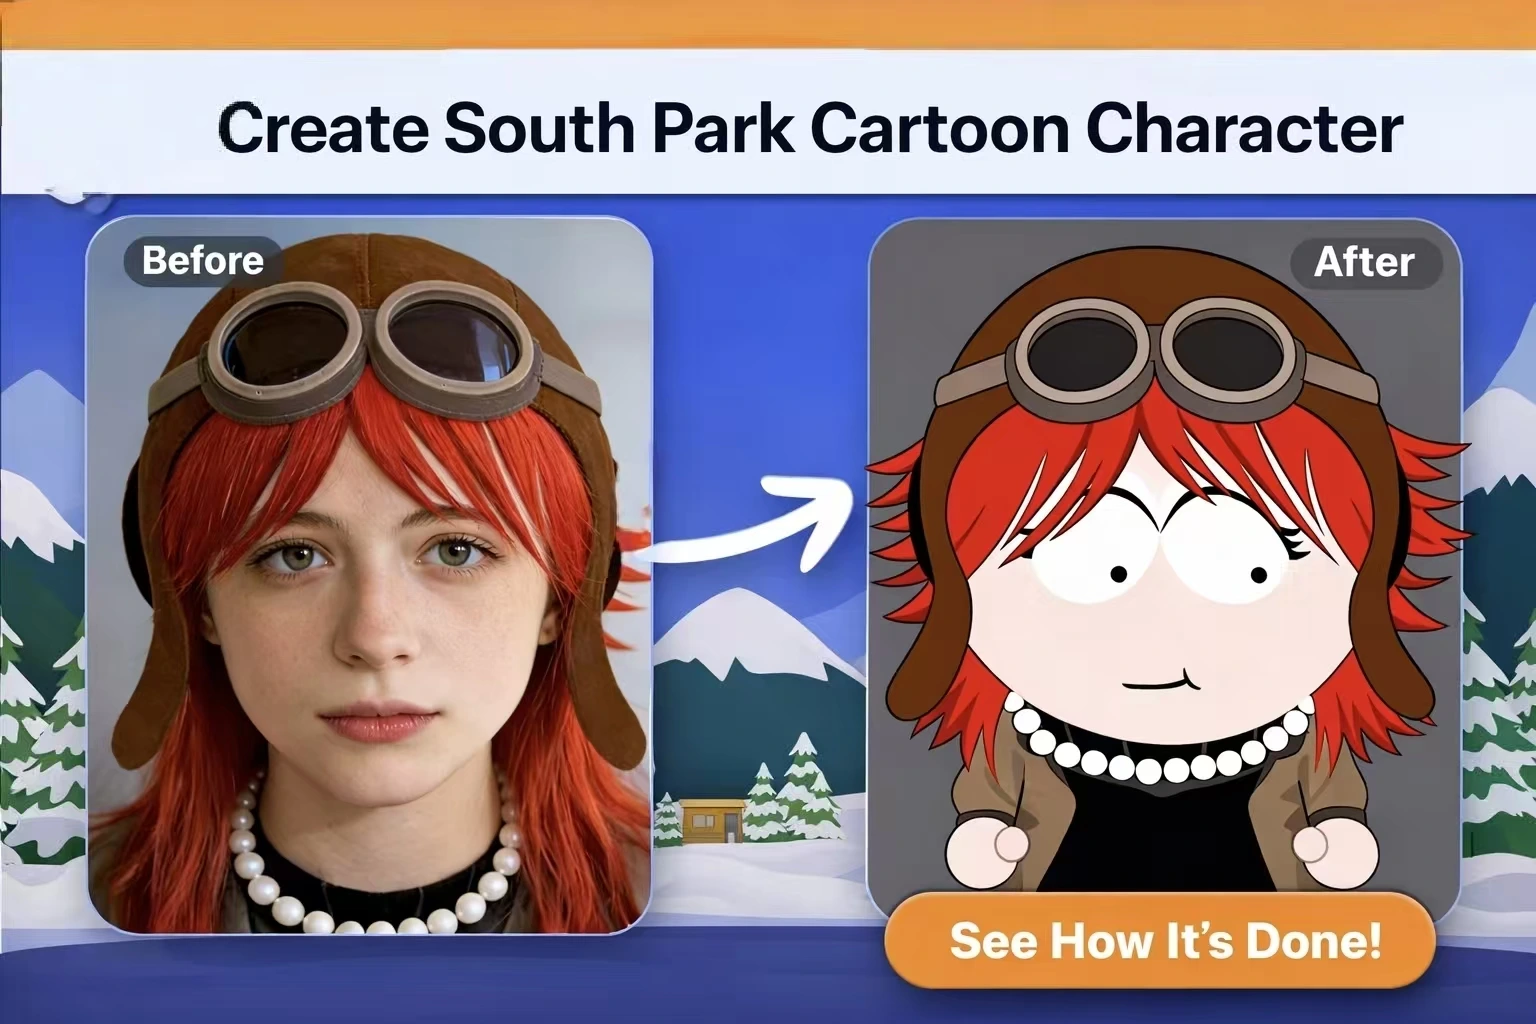
South Park characters look incredibly simple—just basic shapes and flat colors. But try to draw one freehand, and you’ll quickly discover there’s a method to this “simplicity.”
Most people either struggle to capture that authentic SP style or end up overwhelmed without understanding the fundamental design principles. The characters look easy to replicate, yet something always feels off when you attempt it yourself.
This guide breaks down the actual design rules and techniques behind South Park’s iconic look. By the end, you’ll understand exactly how to create characters that could genuinely fit into the town of South Park.
How to Make South Park Character: Understanding the Unique Art Style
Before you start sketching, you need to understand why South Park looks the way it does. The show’s visual style isn’t arbitrary—it follows specific rules developed over 25+ years of production.
The Construction Paper Origins
The original South Park pilot, “The Spirit of Christmas,” was created using actual paper cutouts animated through stop-motion. This wasn’t a creative choice—it was a budget necessity. Trey Parker and Matt Stone literally cut shapes from construction paper and moved them frame by frame.
This “limitation” became the defining aesthetic. When the show moved to digital production after Season 1, Episode 2 (“Weight Gain 4000”), the team used software to replicate the look of paper cutouts rather than abandoning it. Today, South Park uses Maya—professional 3D software—specifically to recreate that handmade paper aesthetic.
Why “Simple” Isn’t Actually Simple
The South Park style follows sophisticated rules that create its distinctive look:
- Proportions: Children’s heads are roughly the same size as their bodies
- Color palette: Limited, saturated primary colors dominate
- Orientation: Characters typically face sideways in a 3/4 view
- Movement: The characteristic “flapping heads” during speech
These aren’t shortcuts—they’re deliberate design decisions that have been refined over decades. Understanding them is the key to creating authentic-looking characters.
The Visual Rules Every SP Character Follows
Every South Park character adheres to consistent design elements:
- Oval-shaped bodies with minimal definition
- Simple limbs that look like paper strips
- Dot eyes with small colored irises
- Limited facial expressions conveyed through minimal line changes
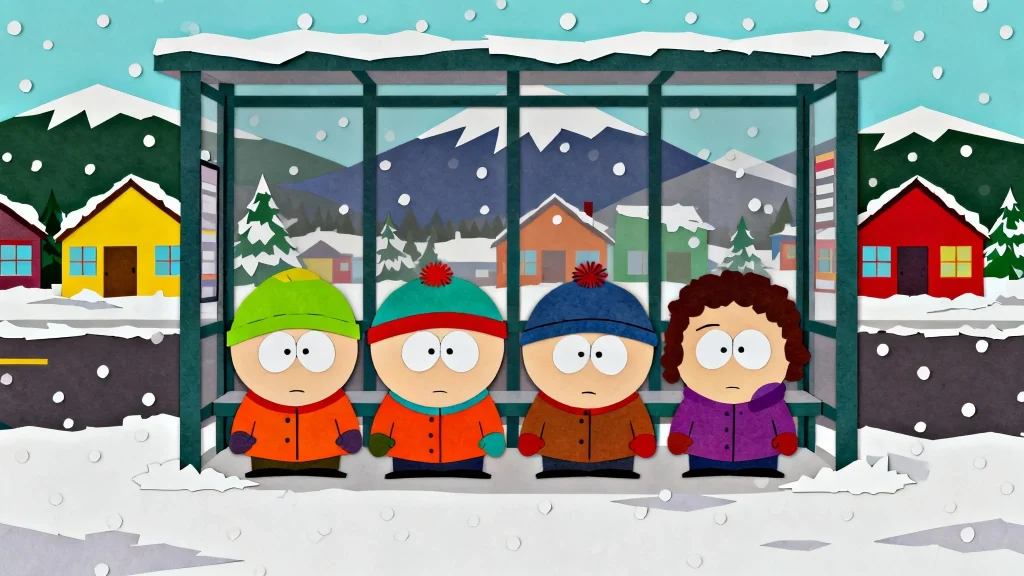
- Clothing that defines identity (Stan’s hat, Kyle’s ushanka, Kenny’s hood)
Key Takeaway: The “simplicity” of South Park is actually a highly refined visual language with strict rules.
The Anatomy of a South Park Character
Now let’s break down the specific proportions and shapes that make up an authentic South Park character.
Head and Face Construction
The head is an oval shape, slightly wider than it is tall. Eyes are placed at the center or slightly above center—never below. The standard face includes:
- Dot eyes with a tiny colored iris
- Simple curved smile (a single curved line)
- Minimal or absent nose (most characters have no visible nose)
- Expressions through subtle changes: Raised eyebrows, wider eyes, or a different mouth curve
Expressions in South Park are conveyed through minimal line changes. A character can go from happy to furious with just a slight adjustment to their mouth line.
Body Proportions and Posture
For child characters, the head-to-body ratio is roughly 1:1. The body is a simple bean or oval shape. Key proportions:
- Arms: Thin strips extending from the body’s sides
- Hands: Simple mitten shapes (no individual fingers)
- Legs: Short and stubby
- Posture: Characters typically stand straight in a side-facing pose
Adult characters have slightly longer bodies (roughly 1:1.5 head-to-body ratio) but follow the same simplified approach.
Clothing and Accessories as Identity
In South Park, clothing IS character identity. When you think of the main characters, you think of their outfits:
- Stan: Blue and red poof-ball hat
- Kyle: Green ushanka with ear flaps
- Cartman: Yellow and light blue outfit
- Kenny: Orange parka hood covering his face
When designing your own character, choose one signature clothing item that will become their visual identifier.
Color Palette Guidelines
South Park uses a limited, saturated color approach:
- Primary colors (red, blue, yellow) dominate
- Skin tones are consistent peachy-beige
- Shadows are almost never used—everything is flat
- Backgrounds use simple gradients or solid colors
Avoid gradients, shadows, or complex color blending on characters. Flat, solid colors are essential to the aesthetic.
[Image: Side-by-side comparison of correct flat coloring vs. incorrect shaded coloring]
Create Your Own Character South Park: Step-by-Step Guide
Ready to create your first character? Follow this step-by-step process.
Starting with Concept and Personality
Start with WHO your character is, not HOW they look. A character’s personality should directly inform their design:
- A shy kid might have oversized clothing they hide in
- A jock would wear sports gear
- A goth would have dark colors and distinctive accessories
Write down three personality traits before sketching anything. These traits will guide every design decision.
Sketching the Basic Shapes
Begin with these fundamental shapes:
- Draw an oval for the head (wider than tall)
- Add a bean shape below for the body (same size as head for kids)
- Position simple rectangle strips for arms
- Add short stubby shapes for legs
- Draw mitten hands at arm ends
Keep all shapes clean and simple. If you’re adding detail at this stage, you’re overcomplicating it.
Adding Defining Features – Make My Own South Park Character Unique
Now layer in the details that make your character unique:
- Choose ONE defining accessory: Hat, glasses, unique jacket, hairstyle
- Select a signature color: One color that stands out
- Add minimal facial features: Dot eyes, simple mouth, optional eyebrows
The “rule of one” works best: Usually one defining visual element is enough to make a character memorable. Don’t overload with multiple accessories.
Refining with the SP Style Check
Before calling your character complete, run through this checklist:
- Are all shapes simple enough? (No complex curves or details)
- Is the color palette limited? (3-4 colors maximum)
- Is everything flat? (No gradients or shadows)
- Does it look like it could appear in an actual episode?
- Can you recognize the character from just a silhouette?
If any answer is “no,” simplify further.
Advanced Tips for Authentic Results
As many fans have discovered, achieving that perfect South Park look takes practice. Here are tips to level up your creations.
Photo-to-Character Conversion Tips
When converting a real person to South Park style, less is more:
- Identify the ONE or TWO most distinctive features (signature glasses, unique hair color, always-worn jacket)
- Ignore everything else—freckles, eye color variations, and subtle features don’t translate
- Exaggerate the distinctive features slightly
The goal isn’t photorealistic representation—it’s capturing the essence of a person in simplified form.
Common Mistakes and How to Avoid Them
Over-detailing: Adding clothing wrinkles, complex hairstyles, or facial details that don’t exist in the show. Solution: If it’s not in the show, remove it.
Wrong proportions: Making heads too small or bodies too detailed. Solution: Head and body should be nearly equal size for child characters.
Inappropriate shading: Adding shadows, highlights, or gradients. Solution: Keep everything flat—South Park uses zero shading on characters.
Off-brand colors: Using muted or overly complex colors. Solution: Stick to saturated primary colors.
Bringing Characters to Life with Animation
Once you’ve designed your character, you might want to animate them. Here’s how to approach South Park-style animation.
Understanding SP Animation Principles
South Park uses “limited animation”—a style characterized by:
- Minimal in-betweens: Characters snap between poses
- Iconic walking wobble: The signature side-to-side movement
- Mouth flap animation: Simple open/closed mouth cycles during speech
- Jerky movements: Intentionally non-smooth motion
These “limitations” are part of the style. Don’t try to make your animations smooth—embrace the snappy, cut-out aesthetic.
Using AI to Animate Your Character
The emergence of AI image-to-video tools has made animation accessible to everyone. You can now take your static South Park character design and convert it into animated video content without mastering complex animation software.
Modern platforms like AI Image to Video enable creators to upload character images and generate short animated clips. This workflow is particularly useful for social media content or testing animation concepts before committing to full production.
Results vary depending on the tool and input quality, so expect some iteration. For best results, use clean, high-contrast character images with transparent backgrounds.
FAQs About Creating South Park Characters
Is it weird to create South Park original characters (OCs)?
Not at all. The fan community actively embraces and celebrates original character creation. SP-Studio, the most popular character creation tool, has been running for over 20 years largely because of this demand. Creating OCs is a beloved part of South Park fandom.
Can I use my South Park character commercially?
This requires caution. Personal use, fan art, and non-commercial sharing are generally accepted by the community. However, the South Park visual style is associated with copyrighted material. If you’re planning commercial use, create original designs inspired by the aesthetic rather than directly copying trademarked elements.
Why doesn’t my character look “right” even when following the style?
Usually it’s one of these issues:
- Proportions are off: Head-body ratio should be 1:1 for kids
- Too much detail: You’re adding elements that don’t exist in the show
- Wrong color saturation: Colors should be bright and primary
- Breaking the flat aesthetic: Any gradients or shadows will look wrong
Simplify further until it feels right.
Conclusion
Creating authentic South Park characters isn’t about having the right tools—it’s about understanding the visual language of the show. Master the simple shapes, respect the proportions, keep colors flat and saturated, and let one defining feature carry your character’s identity.
The beauty of South Park’s style is its accessibility. You don’t need artistic training or expensive software. You need to understand the rules and practice applying them.
Ready to create your first character? Start with the basics—sketch that oval head and body, pick your character’s one defining trait, and see where your creativity takes you. The South Park fan community welcomes creators of all skill levels, so don’t be shy about sharing your work and getting feedback.