Social media has gone vertical, but your videos are still landscape. What now?
If you’ve tried uploading a horizontal video to TikTok, Instagram Reels, or YouTube Shorts, you know the problem. Platforms either crop your footage awkwardly, add black bars, or cut off important parts of the scene.
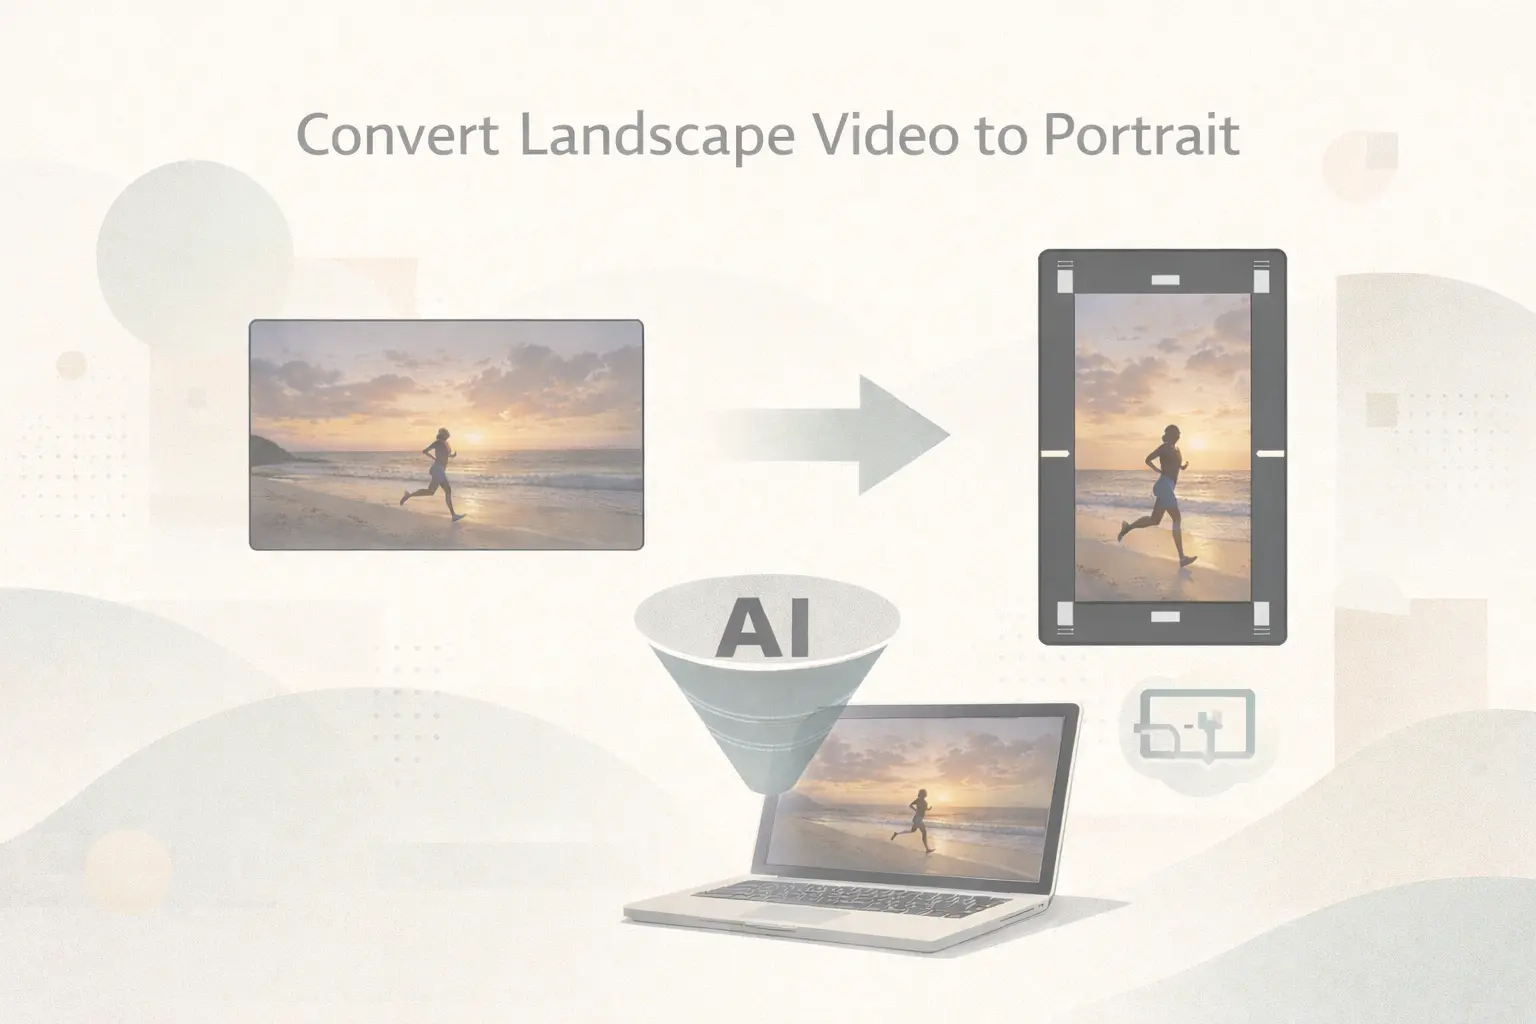
Converting landscape to portrait used to mean losing quality or spending hours editing. Today, AI tools make the process much easier.
This guide covers seven proven ways to convert landscape video to portrait, including AI auto-reframe, blur fill techniques, and AI outpainting. Some methods are completely free, while others offer higher quality with advanced AI.
By the end, you’ll know exactly which landscape to portrait converter video AI tool fits your needs.
Why You Need to Convert Landscape Videos to Portrait
Vertical video is no longer a trend. It’s now the default format for mobile platforms.
TikTok, Instagram Reels, and YouTube Shorts all prioritize 9:16 portrait video. Users naturally scroll while holding their phones upright, which makes horizontal videos feel awkward.
YouTube Shorts alone now generates over 50 billion daily views, while TikTok and Reels dominate algorithm-driven discovery. If your video library is mostly landscape footage, converting it can dramatically expand your reach.
That said, not every video should be converted.
Convert when:
- the footage is unique or cannot be re-recorded
- the subject is centered with extra space around it
- the video quality is high enough for cropping or processing
Re-shoot when:
- the subject touches frame edges
- important elements exist on both sides
- the video quality is already low
Understanding Your Conversion Options: AI vs Manual Methods
There are four main approaches to landscape-to-portrait conversion.
Auto-Reframe
AI analyzes your video, tracks subjects, and automatically crops the frame while following motion. It’s the best balance between quality and convenience.
The trade-off: you lose some of the original frame.
AI Outpainting
AI generates new content above and below your original frame so nothing is cropped.
This is the most advanced method, but it’s still expensive and results can vary depending on the scene.
Blur Background Fill
Your landscape video stays centered while a blurred version fills the empty portrait space.
It’s fast, free, and widely used across social media.
Manual Cropping
You manually animate the crop position with keyframes.
This takes longer but gives complete control.
Method 1: AI Auto-Reframe (Best Balance)
AI auto-reframe is the most practical method for most creators. The AI analyzes faces, motion, and visual focus points, then adjusts the crop position automatically throughout the video.
When someone walks across the frame or the camera moves, the crop follows the action.
However, some creators report that AI tracking can occasionally look slightly jumpy, especially when multiple subjects move at once. In those cases, manual adjustments may still be required.
Best Auto-Reframe Tools
| Tool | AI Capability | Price | Best For |
| Adobe Premiere Pro | Advanced subject tracking | $22.99/mo | Professional editors |
| DaVinci Resolve | Smart Reframe | Free / $295 | Budget creators |
| CapCut | Basic AI + blur fill | Free | Beginners |
| Filmora 14 | Subject detection | $49.99/yr | Intermediate users |
DaVinci Resolve is the best free professional option.
Premiere Pro offers the most refined tracking.
CapCut is the easiest tool for beginners.
DaVinci Resolve Smart Reframe (Free)
- Create a 1080×1920 portrait project
- Import your landscape clip
- Add it to the timeline
- Open Inspector
- Enable Smart Reframe
- Select subject tracking
- Adjust if necessary
- Export
This tool provides professional AI reframing completely free.
Premiere Pro Auto Reframe
- Create a 9:16 sequence
- Import your clip
- Right-click → Auto Reframe Sequence
- Select 9:16
- Choose motion preset
- Generate reframed sequence
- Adjust keyframes if needed
This hybrid workflow combines AI automation with manual precision.
Method 2: AI Outpainting (Highest Quality)
AI outpainting expands your frame instead of cropping it.
The AI generates new pixels above and below your original video, matching lighting, color, and motion.
For example, if your video shows someone standing in a park, AI may generate sky above and grass below to create a natural portrait composition.
Current AI Outpainting Tools
- Runway Expand Video – dedicated AI expansion
- ComfyUI workflows – free local outpainting
- HoloGFX and similar tools
However, video outpainting is still developing. Complex motion or detailed backgrounds may produce artifacts.
Professional Workaround: Frame-by-Frame Outpainting
For maximum quality:
- Export video as image frames
- Use AI image outpainting (Firefly or similar)
- Apply identical prompts to all frames
- Reassemble frames into video
This method is slow but produces the best results.
Method 3: Blur Background Fill (Fastest Free Method)
Blur fill is the simplest and most accessible solution.
The landscape video remains centered while a blurred version fills the vertical space.
Despite criticism, this method is widely used in professional broadcasts and social media.
When Blur Fill Works Best
Best for:
- talking-head videos
- tutorials
- product demonstrations
- centered subjects
Less ideal for cinematic or wide shots.
CapCut Blur Fill Tutorial
Desktop
- Create 9:16 project
- Import video
- Duplicate clip
- Blur the bottom clip
- Center the original clip
Mobile
- New project
- Select 9:16
- Tap Canvas → Blur
- Adjust blur strength
You can finish the conversion in under two minutes.
Alternative Free Tools
- Clipchamp – built-in blur background
- InShot – powerful mobile editor
- YouCut – simple free editing
Other Background Options
Instead of blur, you can use:
- solid colors
- gradients
- brand backgrounds
- captions or text overlays
The key is ensuring the background doesn’t distract from the main video.
Method 4: Manual Cropping (Full Control)
Manual cropping uses keyframes to animate the crop position.
This method is best when:
- multiple subjects move independently
- composition matters
- AI cropping fails
Basic workflow:
- Set portrait aspect ratio
- Scale video larger than frame
- Add position keyframes
- Animate crop position
Every major editor supports this technique.
Method 5: Generate Portrait Video with AI
If you’re creating AI videos, the best solution is generating portrait video from the start.
Many AI video generators now support native 9:16 output.
AI Video Generators Supporting Portrait
| Tool | Portrait Support | Price |
| Kling AI | Limited | Credit-based |
| Runway Gen4 | Yes | $12-76/mo |
| Veo 3 | Prompt workaround | Google access |
| Hailuo AI | Yes | Subscription |
| Wan 2.1 | Yes | Free local |
Platforms like AI Image to Video provide access to multiple models such as Kling, Veo, and Wan, allowing creators to generate portrait AI video directly without conversion.
Prompt Tips for Portrait Video
If a model defaults to landscape:
- include “9:16 aspect ratio”
- say “vertical mobile video”
- reference TikTok style composition
Testing different prompts often improves results.
Method 6: Local AI Solutions (Free but Advanced)
Running AI models locally can generate portrait video without subscription fees.
Models like Wan 2.1/2.2 running through ComfyUI produce results comparable to commercial services.
However, hardware requirements are significant:
- GPU with 16GB+ VRAM
- 64GB RAM
- large storage for model files
Setup also requires Python environments and workflow configuration.
For advanced users, local AI offers unlimited processing with full control.
Post-Conversion Enhancement
After converting your video, a few extra steps can improve quality.
AI Upscaling
Conversion may reduce sharpness. AI upscalers can restore detail.
Tools include:
- AI Image to Video enhancer
- Topaz Video AI
These tools improve clarity and remove artifacts.
Add Captions
Most vertical videos are watched without sound.
Auto caption tools increase engagement and accessibility.
Export Settings
Recommended settings:
- 1080×1920 resolution
- H.264 codec
- 30fps
- 8–12 Mbps bitrate
YouTube Shorts can support 4K portrait (2160×3840).
Conclusion
Converting landscape video to portrait no longer requires complicated editing.
Today you can choose between:
- AI Auto-Reframe for intelligent cropping
- Blur Fill for fast free conversions
- AI Outpainting for maximum quality
- Direct portrait AI generation for new content
For most creators, starting with CapCut or DaVinci Resolve is the easiest path.
As vertical platforms continue to dominate, mastering landscape-to-portrait conversion lets you repurpose your existing video library for TikTok, Instagram Reels, and YouTube Shorts.
Pick your best landscape clip, convert it to portrait, and turn it into vertical content that stops the scroll.