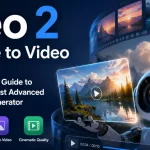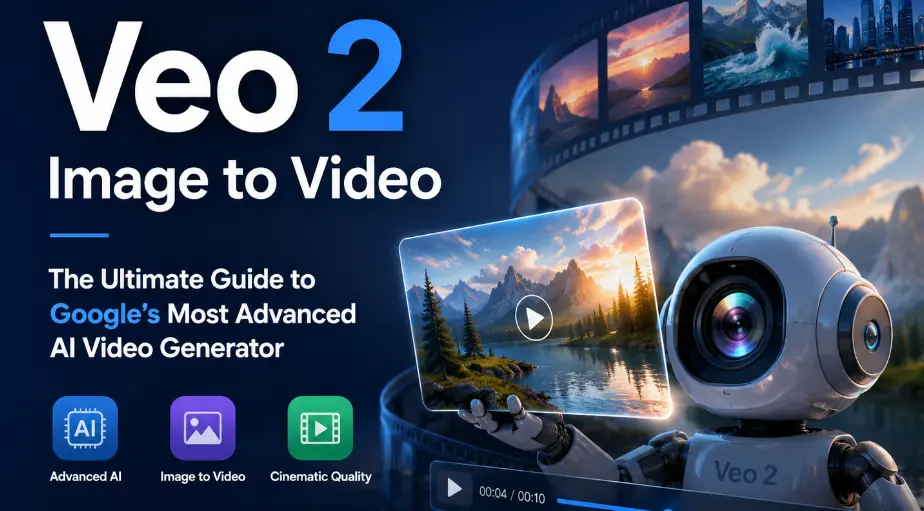
You have the perfect product photo, but your audience scrolls past static images. Google’s Veo 2 can turn that photo into a cinematic video clip in under 30 seconds, and getting started costs nothing.
The catch? Most people hit rate limits, safety filter blocks, or geographic restrictions before getting a usable result. Online demos look polished but skip the real friction: quota caps, over-smoothed textures, and an 8-second clip ceiling.
This guide covers every access method (free and paid), prompt templates built for image-to-video, pricing across all platforms, and head-to-head comparisons with Kling, Sora 2, Seedance 2.0, and Runway.
What Is Veo 2 Image to Video?
Google’s Veo 2 is an AI model that animates still images into short video clips. It uses your uploaded photo as the opening frame and generates realistic motion based on your text prompt.
How Veo 2 Image to Video Works
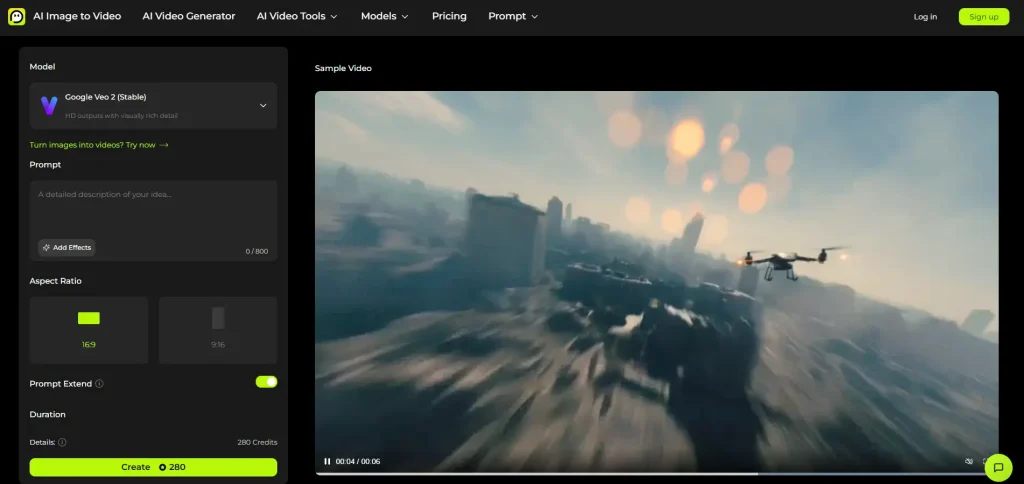
You upload a static image as the first frame, write a motion prompt describing how the scene should move, and Veo 2 produces a 5-8 second clip at 720p resolution. The model (veo-2.0-generate-001) supports 16:9 landscape and 9:16 portrait aspect ratios. Every output includes a SynthID watermark for responsible AI identification.
Image to Video vs Text to Video: Key Differences
With text-to-video, the model imagines everything from your description. With image-to-video, it starts from your actual photo and animates outward. This matters because image-to-video delivers far more predictable results for product shots, branded content, and personal photos.
The prompting approach differs too. Image-to-video prompts should describe motion and camera behavior, not the scene content already visible in your photo.
Veo 2 vs Veo 3: What Changed for Image to Video
Veo 3 and 3.1 added native audio, first-and-last frame control, video extension, and object insertion. The practical catch: Veo 3 Fast does not support image-to-video and falls back to Veo 2 Fast automatically.
Use Veo 2 for reliable image animation without audio. Choose Veo 3 when you need dialogue, sound effects, or start-and-end frame control for looping clips.
How to Use Veo 2 Image to Video (Step-by-Step)
Four paths exist for accessing Veo 2 image-to-video in 2026, each suited to different budgets and skill levels.
Method 1: Google AI Studio (Free)
Visit Google AI Studio, select Video Generation, and upload your image as the initial frame. Write a motion prompt, toggle prompt enhancement on or off, and hit Generate. Your finished clip saves to Google Drive.
The free tier allows 2-10 video generations per day depending on your account, which resets every 24 hours.
Method 2: Gemini Advanced and Google One AI Premium
A Google One AI Premium subscription unlocks Veo 2 through Gemini chat and Google Flow. Flow’s scene builder is especially useful for multi-clip projects. The Ultra tier runs $125/month and includes a monthly generation allocation.
Method 3: Third-Party Platforms
Several platforms provide Veo 2 access outside Google’s ecosystem:
- fal.ai — Pay-per-use API at $0.50/second with no subscription
- Freepik — Credit-based access through its Pikaso creative suite
- getimg.ai — Browser-based generation with no coding required
- Segmind — API access with pre-built Pixelflow workflow templates
- AI Image to Video — Multi-model platform offering Veo, Kling, and Wan with 4K output and no watermarks
Method 4: Via the Gemini API (Developers)
For programmatic access, use the Gemini API with the veo-2.0-generate-001 model. Encode your source image in base64, create an async generation job, poll for completion, and retrieve the finished video. Both Python and JavaScript SDKs are available.
Veo 2 Image to Video Settings and Options
Understanding these controls helps you get better output before burning through your daily quota.
Resolution and Aspect Ratio
Veo 2 outputs at 720p maximum in either 16:9 or 9:16. Interestingly, community testing has found that Veo 2’s 720p often produces better skin textures than Veo 3’s 1080p, because Veo 3’s internal upscaler tends to over-smooth fine details.
Camera Controls and Cinematic Prompts
You can direct camera behavior through prompt language: dolly in, tracking shot, pan left, static camera, shallow depth of field. A common frustration is that Veo 2 defaults to slowly zooming into subjects. Override this by explicitly requesting a “static locked-off camera” in your prompt.
Negative Prompts and Prompt Enhancement
Negative prompts let you specify what to exclude (e.g., “no camera shake, no cuts”). The prompt enhancement toggle rewrites your prompt for potentially better results, but it can override your precise instructions. Disable it when you need exact control over motion and framing.
Best Prompts for Veo 2 Image to Video
No dedicated prompting guide exists for image-to-video specifically. Here are templates that consistently produce strong results.
Prompt Structure That Works
Follow this formula: [Subject action] + [Camera movement] + [Lighting/atmosphere] + [Pacing]
- “The woman slowly turns her head and smiles. Slow dolly zoom in. Warm golden hour lighting. Gentle, natural pacing.”
- “Wind ripples through the fabric of the dress. Static wide shot. Soft diffused daylight. Slow motion.”
- “The product rotates 90 degrees on the display stand. Smooth orbital tracking shot. Clean studio lighting.”
Camera Movement Prompts (Dolly, Tracking, Pan)
Copy-paste these snippets into your prompts for specific camera effects:
- Dolly: “Slow dolly push in toward the subject”
- Orbit: “Camera slowly orbits around the subject at eye level”
- Pan: “Smooth horizontal pan from left to right”
- Static: “Locked-off static camera, no movement”
- Rack focus: “Rack focus pull from foreground to background”
Common Prompt Mistakes to Avoid
- Describing scene content instead of motion (your image already shows the scene)
- Requesting contradictory actions that conflict with the source image composition
- Overloading prompts with multiple complex actions in a single generation
- Forgetting camera direction, which causes Veo 2 to default to an auto-zoom
Veo 2 Image to Video Pricing: What’s Free and What’s Not
Pricing varies significantly across platforms. Here is a full comparison.
Free Tier Limits (Google AI Studio)
Google AI Studio offers 2-10 free videos per day at 720p with SynthID watermarking. Despite some YouTube claims of “free unlimited” access, community members have confirmed that rate limiting is enforced.
Google One AI Premium Allocation
The Ultra subscription costs $125/month and includes access to Veo 2 through Gemini and Google Flow, with a monthly generation cap.
API Pricing Breakdown
Direct API costs run approximately $3.40 per video through NanoGPT or $0.50 per second through fal.ai ($2.50 for a 5-second clip). For comparison, Veo 3.1 API pricing ranges from $0.15/sec (Fast) to $0.40/sec (standard with audio).
Third-Party Platform Costs Compared
| Platform | Pricing Model | Approximate Cost |
| Google AI Studio | Free tier | $0 (2-10/day) |
| fal.ai | Pay-per-second | $2.50/video (5s) |
| Freepik | Credits | ~$1/video |
| Segmind | API credits | Variable |
| AI Image to Video | Free + Pro tiers | Free tier available |
| Pollo.ai | Credits | Free tier + paid |
Veo 2 vs Competitors for Image to Video
Each competitor excels in a specific area. Here is how they compare.
Veo 2 vs Kling (Best for Faces)
Kling 2.6/3.0 is the community consensus winner for face consistency, preserving facial identity far better than Veo 2. Character drift between frames is Veo 2’s most-cited weakness. Veo 2 wins on cinematic quality and platform availability.
Veo 2 vs Sora 2 (Best for Physics)
Sora 2 outperforms Veo 2 in physics accuracy and motion speed, with community comparisons describing Veo 2 as producing “slow motion” results by comparison. Veo 2’s advantage is its much lower cost entry point.
Veo 2 vs Seedance 2.0 (Best for Realism)
Seedance 2.0 is the 2026 community consensus leader for overall realism. Its drawback is limited international access (full features require a Chinese ID). Veo 2 is far easier to access and better documented.
Veo 2 vs Runway Gen-4 (Best for Editing Workflows)
Runway Gen-4 has the most mature video-to-video workflow and professional editing integration. Veo 2 offers broader free access but lacks video-to-video support entirely.
Known Limitations and Workarounds
Knowing these issues upfront saves hours of frustration.
Safety Filter Rejections
Veo 2’s content filter blocks brand names, photos triggering false celebrity detection, and images of children in everyday settings. Workarounds: remove text overlays from source images, use illustrated styles, and simplify prompt language.
Rate Limits and Quota Management
Daily limits reset every 24 hours. Maximize your quota by preparing prompts in batches before generating, and split work across Google AI Studio and third-party platforms for higher total output.
Geographic Restrictions
EU users are largely blocked from photorealistic image-to-video involving people. Some features remain US-only. Third-party platforms like fal.ai and Pollo.ai typically offer access without geographic blocks.
The 8-Second Clip Length Problem
The hard 5-8 second ceiling is the biggest barrier for professional use. Chaining clips causes progressive color drift. Solutions: use Google Flow’s scene builder for structured sequences, apply color matching in DaVinci Resolve, and render at 720p when extending clips to minimize quality loss.
FAQs of Veo 2 Image to Video
Is Veo 2 Image to Video Free?
Yes. Google AI Studio provides free access with a daily cap of 2-10 videos. Paid options include the Gemini API, Google One AI Premium, and third-party platforms for higher volume.
Does Veo 2 Support Audio?
No. Veo 2 generates silent video only. For audio, use Veo 3 for native sound or add voiceovers with tools like ElevenLabs in post-production.
Can I Use Veo 2 Videos Commercially?
Videos from Google AI Studio and the Gemini API include SynthID watermarking and are generally permitted for commercial use under Google’s terms. Check individual third-party platform policies separately.
How Do I Get Better Results from Image to Video?
Use high-resolution source images matching your target aspect ratio. Describe motion and camera behavior, not scene content. Disable prompt enhancement for precise control, and use negative prompts to prevent unwanted elements.
What Is the Difference Between Veo 2 and Veo 3?
Veo 3 adds native audio, first-and-last frame control, video extension, and 1080p output. However, Veo 3 Fast cannot process image-to-video and defaults to Veo 2 Fast instead.
Why Does Veo 2 Keep Rejecting My Prompts?
The safety filter flags brand names, real-person likenesses, and certain subject matter. Remove text from source images, switch to stylized or illustrated visuals, and keep prompt language straightforward.
Conclusion
Veo 2 remains one of the most accessible AI tools for turning static images into cinematic clips, with a genuine free tier and broad platform support. It excels at product shots, stylized content, and creative imagery. For faces, consider Kling. For realism, Seedance 2.0 leads. For physics, Sora 2 wins. The strongest workflow: generate a high-quality first frame with Midjourney or GPT Image 2, then animate it with Veo 2 using the prompt techniques above.
Ready to start? Head to Google AI Studio for free generations, or try AI Image to Video for multi-model access with Veo, Kling, and Wan in one place.