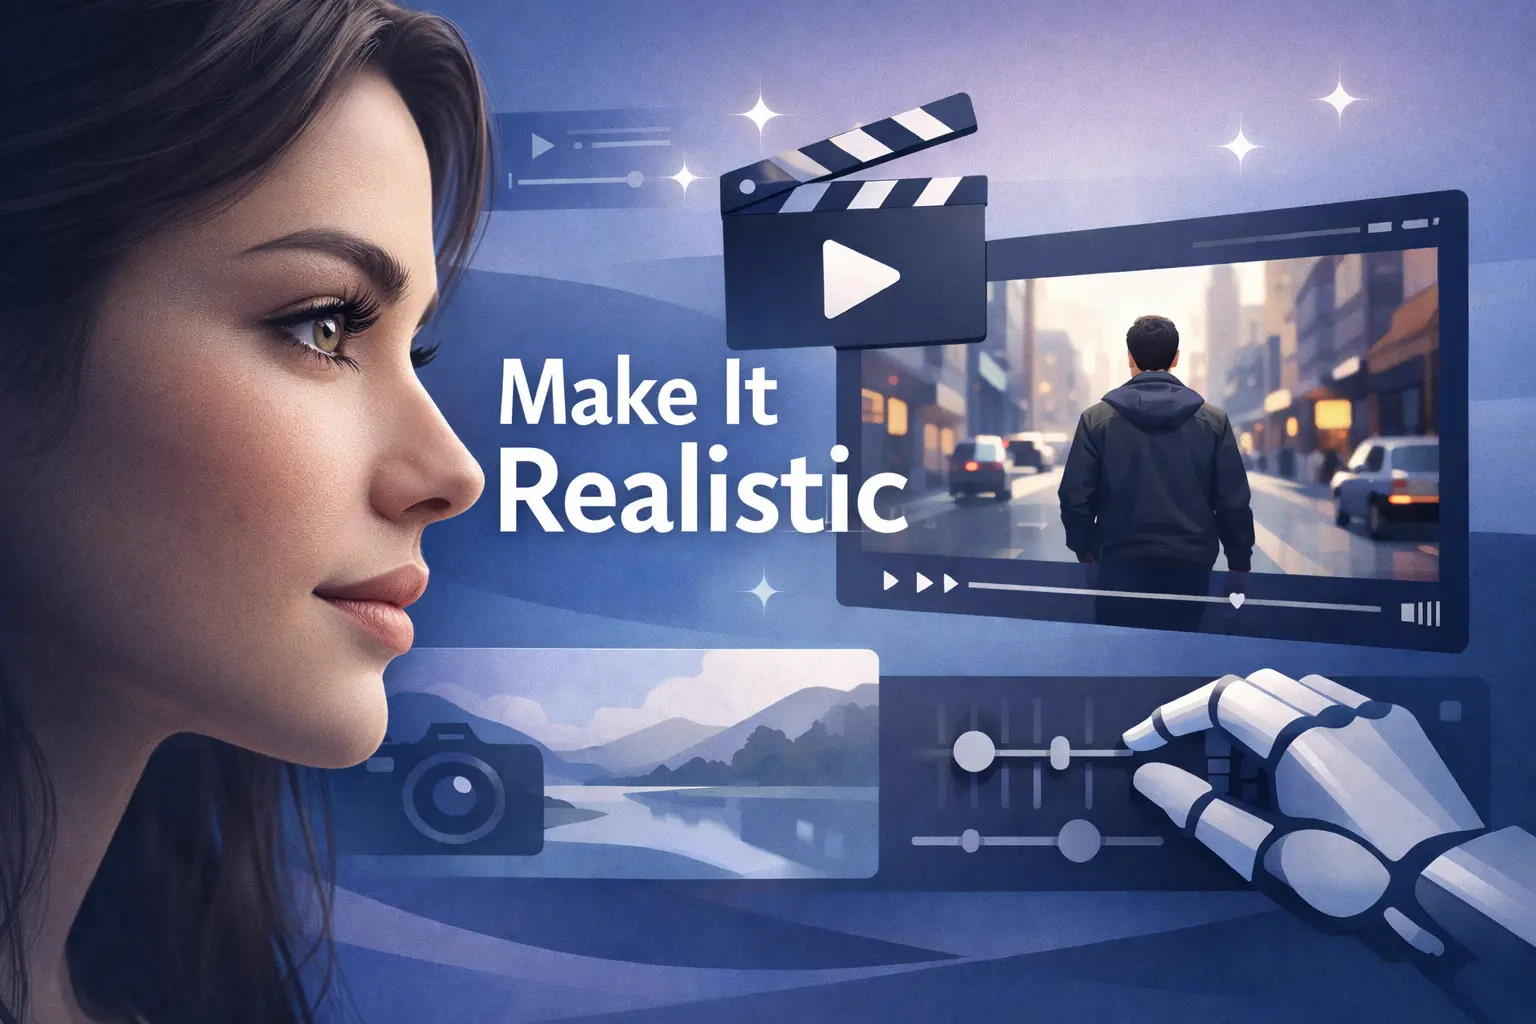
The difference between an AI video that looks obviously fake and one that passes as real footage comes down to technique, not tools. Most creators hit the same wall — their AI-generated clips have that unmistakable synthetic sheen that instantly signals “this isn’t real.”
The frustrating part? The fixes aren’t complicated. They’re just not obvious.
Whether you’re creating content for social media, building an AI influencer, or producing marketing videos, the same core principles separate amateur AI output from footage that could pass for a real camera shoot. This guide breaks down 10 actionable tips — drawn from the workflows of top AI video creators and community-tested techniques — that address every major factor in making your realistic AI video truly convincing.
What makes an AI video realistic?
A realistic AI video is not just high-resolution or cinematic. It feels real when the scene follows the same rules as real footage. Most fake-looking AI videos fail in a few predictable ways.
The key factors are:
- Frame-to-frame consistency
Faces, clothing, props, and backgrounds should stay stable instead of morphing or drifting during the shot. This is one of the fastest ways viewers spot AI. - Natural motion and physics
People should shift weight naturally, and objects should move with believable speed, balance, and gravity. Floaty or snapping motion breaks realism fast. - Logical lighting
Light should have a clear direction and stay consistent across the scene. Shadows, highlights, and reflections need to match the subject, camera angle, and environment. - Intentional camera movement
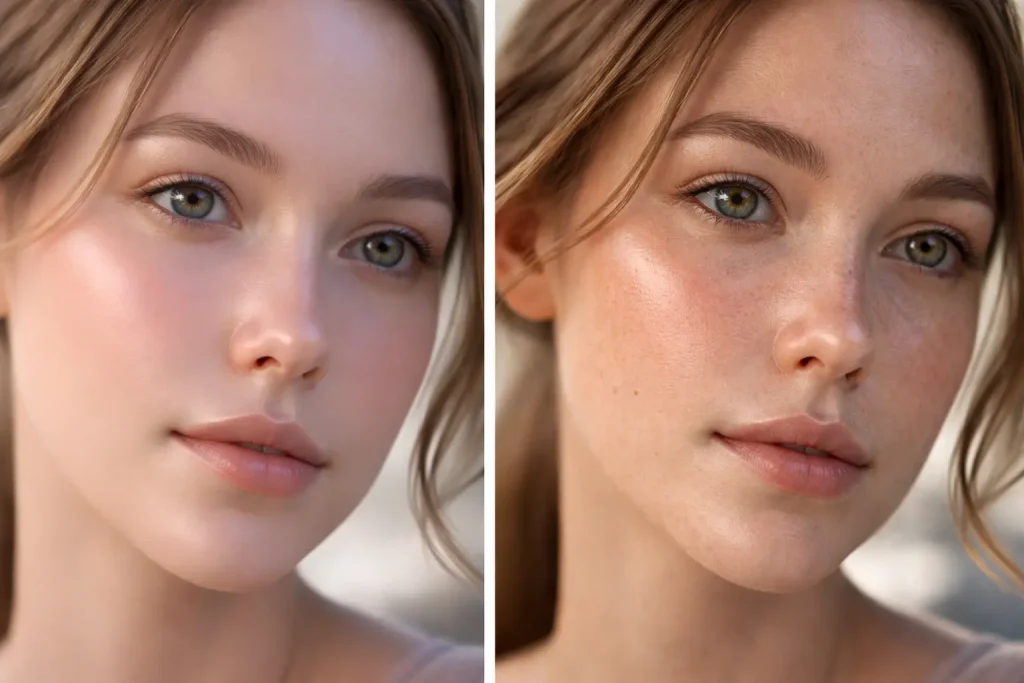
Realistic pans, push-ins, and tracking shots feel smooth and motivated. Jittery or constantly shifting camera behavior makes footage feel generated. - Believable texture and detail
Skin, hair, fabric, glass, and water should respond to light like real materials. Overly smooth, waxy, or plastic-looking surfaces are common AI giveaways. - Natural imperfection
Real footage is never perfectly clean. Slight texture irregularities, subtle motion blur, and less “perfect” detail often make AI video feel more real, not less. - Audio that matches the scene
If the model supports audio, realistic pacing, breaths, pauses, and ambient sound help the video feel grounded instead of robotic.
In short, realism comes from consistency, physics, lighting, camera control, texture, and imperfection working together.
10 Tips to Make It Realistic
1. Use a Specific Video Medium
Don’t generate “a cinematic video.” That vague direction is how you get the generic hyper-realistic AI video look that’s becoming its own tell.
Instead, define a specific visual language before you generate anything. Are you making a handheld vlog? A documentary interview? A DSLR-shot product demo? A drone flyover? Each medium carries its own camera behavior, color palette, resolution characteristics, and motion feel.
When you specify a medium, you give the AI a concrete visual target that produces a more coherent, believable result.
Documentary shot on Sony FX3″ beats “cinematic video” every time. The more specific your medium, the more realistic your output.
2. Be Intentional About Lighting
Lighting is the single most cited factor in AI realism across both 3D rendering and AI video communities. Conflicting light directions between foreground and background elements are the most common artifact that breaks realism.
Specify a single, consistent main light source: golden hour warmth, overcast diffusion, studio three-point setup, or harsh overhead fluorescent. Include lighting terms in your prompts — key light position, fill ratio, backlight direction — and ensure every element in the scene is lit from the same direction.
Multiple community discussions identify inconsistent lighting as the primary reason renders and AI video look fake.
3. Use the Right AI Model
Not all AI models handle realism equally. Some excel with human faces but struggle with motion. Others produce smooth movement but plastic-looking textures.
Choose your model based on your content type. For image-to-video workflows, platforms like AI Image to Video provide access to multiple advanced models including Kling, Veo, and Wan, letting you select the model best suited for your scene type and desired realism level. Community discussions consistently show that model selection matters as much as prompting technique.
4. Make Big Subjects
Fill the frame with your subject. AI models perform significantly better with large, prominent subjects than with complex wide shots containing many small elements.
Close-ups and medium shots give the AI fewer details to hallucinate and more pixel budget for realistic textures — skin pores, fabric weave, hair strands. Wide establishing shots with many small figures are where AI video most commonly breaks down with anatomical errors and inconsistent details.
Frame your shots the way a portrait photographer would: fill the frame, simplify the background, and let your subject dominate.
5. Animate Fewer Subjects per Shot
Every additional moving element is another opportunity for artifacts. Limit each shot to one or two primary subjects in motion.
Complex multi-character scenes with simultaneous independent motion overwhelm current models, producing clipping, object permanence failures, and inconsistent physics. When you need a crowd scene, use shorter clips and cut between single-subject shots — the same approach real filmmakers use to manage complex scenes on limited budgets.
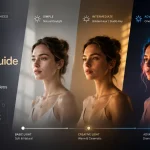
6. Character Consistency
Nothing breaks immersion faster than a character whose face, hair, or clothing subtly shifts between shots.
Use dedicated character systems and establish a fixed reference set before generating. Lock down specific facial features, clothing, and body proportions. Top YouTube creators like Dan Kieft emphasize that character consistency is one of the three pillars of convincing AI video content — alongside realism and motion.
[Image: Comparison grid showing consistent character appearance across four different AI-generated video scenes]
7. Consistent Style with Image Reference
Use fixed reference images instead of pure text-to-video generation. Reference-based workflows produce dramatically more predictable and consistent results because the AI has a concrete visual anchor rather than interpreting text ambiguously.
Create or select high-quality reference images that establish your desired lighting, color grade, and composition, then use image-to-video tools to animate from that baseline. Expert creators confirm that fixed reference images produce predictable results versus random text-to-video output. Platforms designed for image-to-video conversion — such as AI Image to Video with its customizable aspect ratio and motion controls — streamline this reference-based workflow.
8. Use Simple Motions in Scenes
Subtle, controlled motion looks far more realistic than dramatic action. Limit movement to gentle camera pans, slow zooms, slight head turns, hair blowing in wind, or steam rising from a cup.
Current AI video models handle slow, predictable motion well but struggle with fast, complex movement — running, dancing, or rapid camera pans often produce warping and frame inconsistencies. Think “b-roll” rather than “action sequence.” This actually mirrors real-world footage: most professional video content features deliberate, minimal movement.
9. Mix and Match Generations
Don’t rely on a single generation for your final output. Generate multiple versions of the same scene and cherry-pick the best segments from each.
Combine the strongest face from one generation with the best background motion from another using video editing. This “best of” approach mirrors how professional photographers select from hundreds of shots. Generate at different settings — varying motion intensity, aspect ratios, or even models — and composite the best elements together.
10. Add Film Grain
This is the finishing touch that separates good AI video from convincing AI video.
Real camera footage inherently contains film grain (analog) or sensor noise (digital). AI output is too clean — unnaturally smooth and noise-free. Adding a subtle layer of film grain in post-production instantly makes output feel captured rather than generated.
Beyond grain, consider adding:
- Slight vignetting at frame edges
- Minor lens distortion
- Chromatic aberration at the periphery
- Subtle color grading matching a specific camera profile
The Blender community uses exactly these techniques to make 3D renders pass as real photographs — the identical approach works for AI video.
Key Takeaway: The final 10% of realism comes from post-processing. A few minutes of grain and lens effects can transform obviously-AI footage into something convincingly real.
FAQs About Making Realistic AI Videos
What is the best AI model for realistic video generation?
There’s no single “best” model — it depends on your content type. Kling excels at human motion, Veo handles complex scenes well, and Wan offers strong image-to-video conversion. Experiment with different models to find the best fit for each project.
Can I make realistic AI videos for free?
Yes. Several platforms offer free tiers for AI video generation. Quality and output limits vary, but free tools can produce surprisingly realistic results when combined with the techniques in this guide.
How do I avoid the “uncanny valley” in AI videos?
Add subtle imperfections (film grain, skin texture, slight motion blur), use consistent single-source lighting, keep motions simple, and avoid the “hyper-cinematic” AI look by choosing a specific, grounded video medium.
What resolution should I use for realistic AI videos?
Generate at the highest resolution your tool supports — 4K when available. Higher resolution provides more detail for textures like skin pores and fabric, which are critical for realism.
How long does it take to create a realistic AI video?
A single polished clip takes 15–60 minutes depending on the number of generations and post-processing. Full projects with multiple scenes, character consistency, and voice integration typically take several hours.
Is it better to use text-to-video or image-to-video for realism?
Image-to-video consistently produces more realistic results because the AI has a concrete visual reference. Start with a high-quality reference image that establishes your desired look, then animate from that baseline.
Conclusion
Creating hyper-realistic AI videos isn’t about finding one magic tool — it’s about applying a systematic approach that addresses every factor the human eye evaluates. Define your medium, control your lighting, choose the right model, simplify your compositions, maintain consistency, and finish with real-camera artifacts like film grain.
You don’t need to master all 10 tips at once. Start with lighting and film grain — they deliver the biggest realism improvement for the least effort — then layer in the other techniques as you refine your workflow.
Ready to put these tips into practice? Start with a high-quality reference image and try converting it into realistic video using AI Image to Video — experiment with different models and motion settings to find the combination that produces the most convincing results for your content.