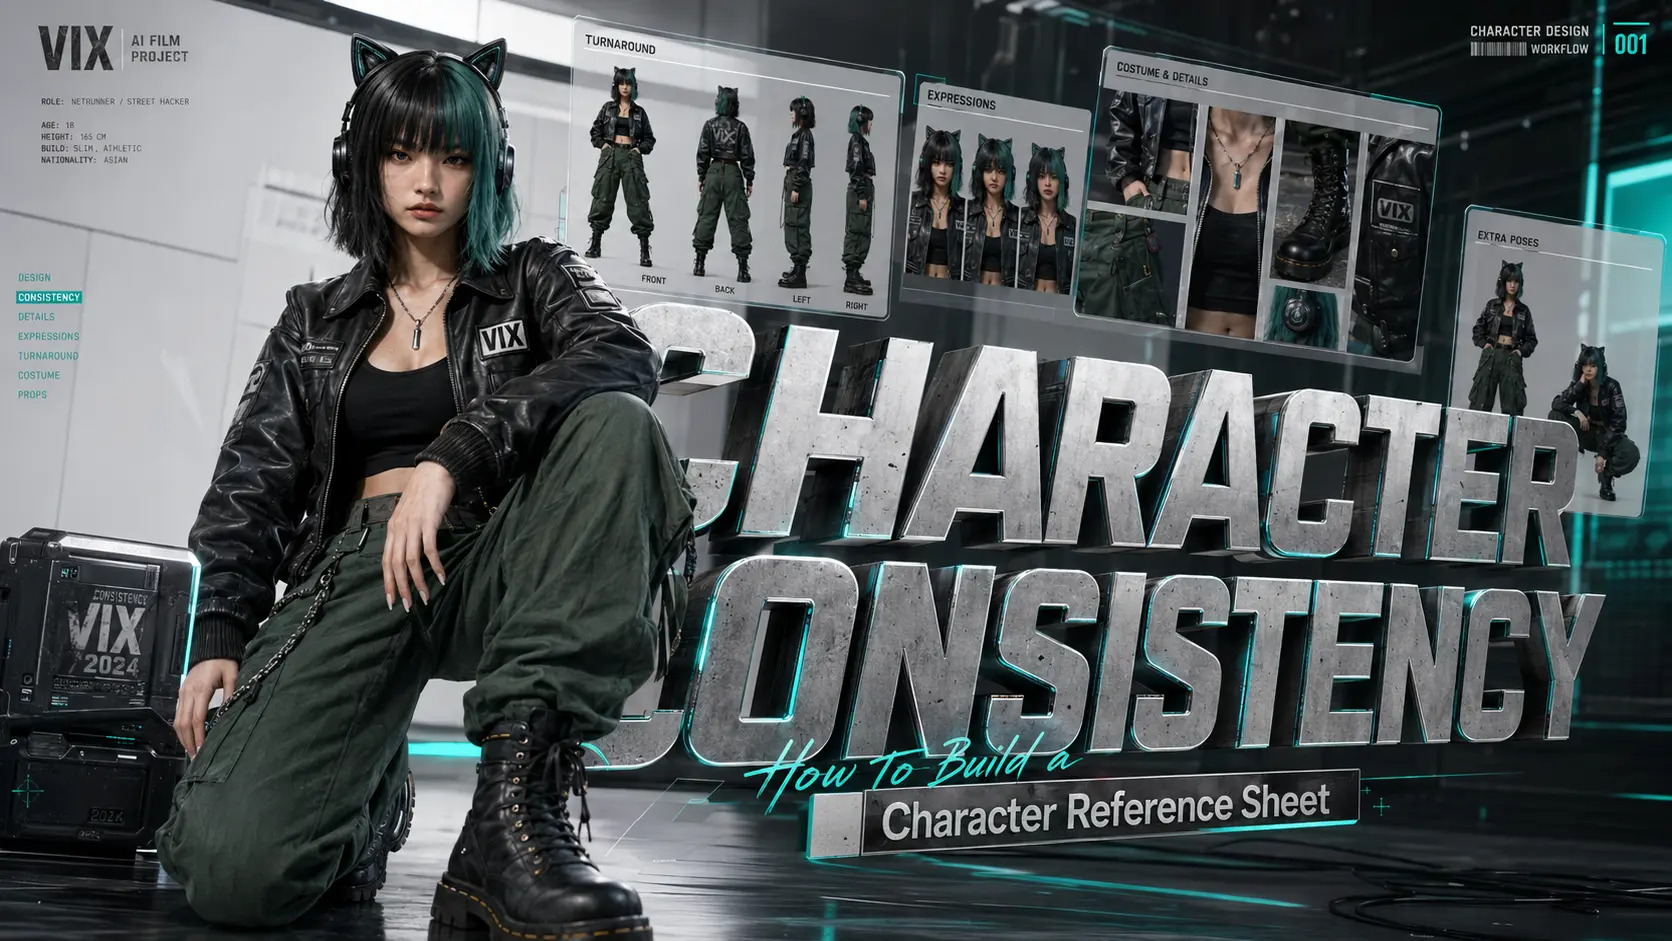
One of the biggest challenges in AI filmmaking—especially when creating highly realistic videos—is maintaining consistent character appearances across different shots. As image-to-video technology continues to evolve, the most widely adopted solution among AI filmmakers is to create a character reference sheet. Just as actors receive official character photos before filming begins, your AI model also needs at least one well-defined “headshot” to establish a consistent identity.
In this guide, you’ll learn how to build reliable AI character references that keep your digital actors consistent throughout a story—whether you’re producing a short film, a serialized series, or even a feature-length project over an hour long.
Bonus: You’ll also get a ready-to-use Character Reference Sheet prompt template that you can customize for your own projects.
Why Character Consistency Matters in AI Video Projects
Creators’s pain point
Even in a short 5-second clip, you may notice subtle character drift — the character’s face, hairstyle, body shape, or overall identity can slowly change as the video continues. This problem becomes even more obvious when the character walks, turns around, changes direction, or appears from different angles.
In a 15-second AI video, the issue can become much worse. By the final frame, the character may no longer look like the person in your original reference image. The face may become softer, older, younger, or simply turn into someone else.
I have watched many AI videos that do not pay close attention to character consistency, including both cartoon-style videos and realistic-style videos. They typically characterized as longer duration up to hours, and focusing more on pushing the story forward than keeping the character visually stable.
That does not always ruin a simple AI video. But for an AI film project, it can quickly break the viewer’s immersion.
In higher-quality AI short films, character drift may still happen, but it is usually less obvious. The character does not suddenly look like a completely different person, and the overall viewing experience feels more natural. Sometimes, you won’t realize it’s AI-generated.
To reach that level of control, creators need a strong visual anchor more than text prompt only— and that is where a high-quality character reference sheet becomes important.
Why we need a character reference sheet
First, a character reference sheet saves prompt space. Instead of describing the character’s face, hair, outfit, body type, and personality again in every single prompt, you can use the reference sheet as a visual guide. This gives you more room to describe the scene, action, camera movement, lighting, and emotion.
Second, a visual reference is usually more stable than text alone. Text descriptions can be interpreted in different ways, especially when the wording changes slightly. A reference image gives the model a clearer visual target and reduces uncertainty.
This matters even more when creating ultra-realistic AI videos.
In realistic AI filmmaking, the final quality of the character is closely connected to the quality of the character reference. A blurry, low-detail, or inconsistent reference image will often lead to weaker video results. A sharp, high-resolution, realistic character sheet gives the model a stronger foundation.
In other words, the better your character reference sheet is, the more realistic and consistent your later AI video shots are likely to be.
Try to generate your images at the highest resolution possible—ideally in 4K. As for image quality, creators commonly recommend ChatGPT Image 2 and Nano Banana 2 or Pro, and Seedream 5.0 Pro may soon join that list as well.
Start With an AI Character Generator
H3: What are included in a character reference sheet?
A basic character reference sheet may only include three views of the character: front view, back view, and side view.
For simple projects, that may be enough.
But as creators share, for higher precision in an AI film project, a basic three-view sheet can quickly become limited. AI video generation often needs more visual information than one front-facing image or one simple turnaround. The more clearly the model understands the character from different angles, the easier it is to keep the same identity across different shots.
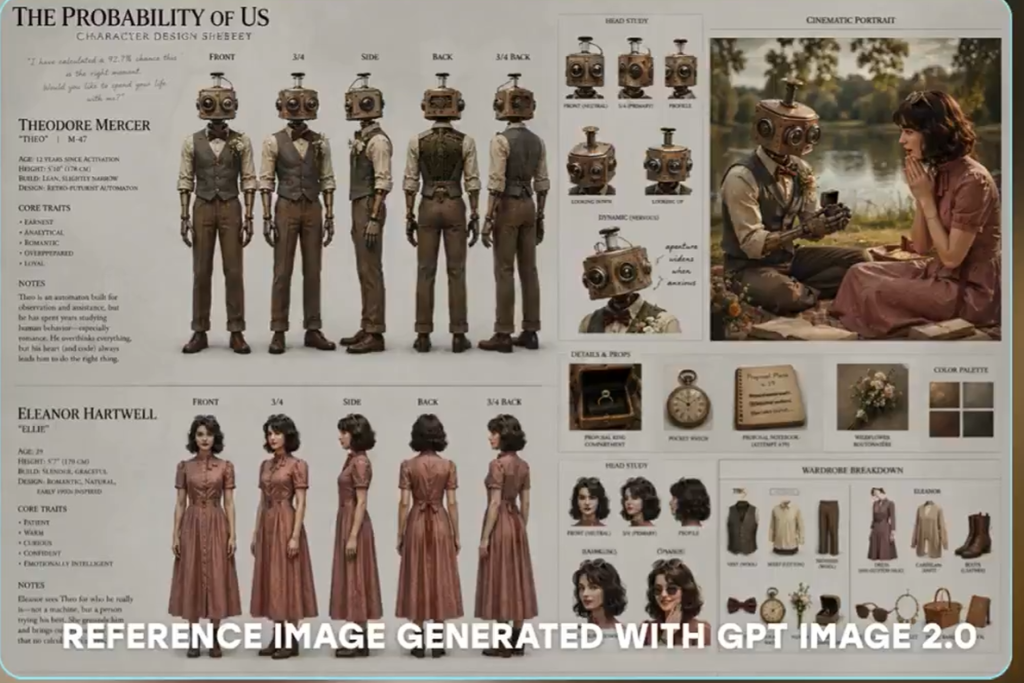
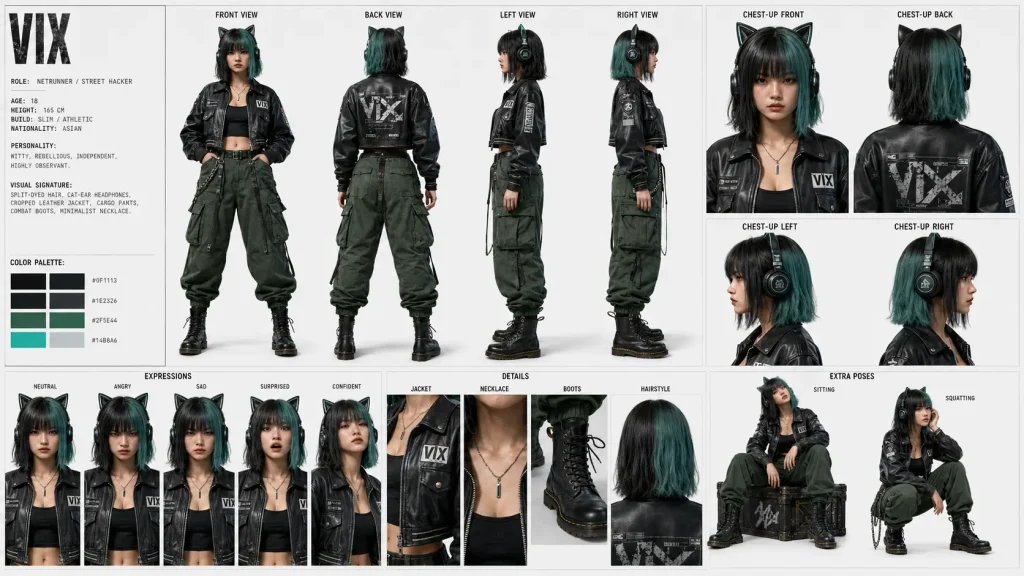
For a stronger character reference sheet, I recommend including at least eight core views:
- full-body front view, back view, left-side view and right-side view
- chest-up front, back, left-side and right-side portrait view
These eight views give the model both the full silhouette and the facial or upper-body details.
If you want even more control, you can add extra reference elements based on your project needs:
- Left and right three-quarter full-body views. These are useful because many video shots are not perfectly front-facing or perfectly side-facing. A three-quarter angle often looks more natural and cinematic.
- Close-up facial expressions, such as neutral, smiling, angry, sad, surprised, or afraid. This helps when the character needs to act across different emotional scenes.
- Extreme close-ups of important facial features, such as the eyes, nose, mouth, hairstyle, scars, makeup, or skin texture. These details can become identity anchors, especially when the character appears in close-up shots.
- Full-body views of different costumes. You can also include detail shots of important clothing elements, such as a jacket collar, necklace, gloves, boots, badge, belt, or special pattern.
- Squatting and sitting postures. Covering a wider range of angles and poses is always a good idea—as long as your shooting plan actually calls for them.
If the character uses important props, you have two options. You can place the prop directly inside the character reference sheet, or you can create a separate prop asset sheet. For important story objects, such as a weapon, magic item, camera, suitcase, phone, mask, or signature accessory, a separate prop sheet is often cleaner and easier to reuse.
The goal is not to make the sheet visually crowded. The goal is to give the AI model enough stable visual information to understand the character as a repeatable design, not just a one-time image.
How to Generate Your Own Sheet
When generating a character reference sheet, your prompt should mainly include two parts.
The first part describes the character.
The second part describes the layout of the sheet.
The character description should define the character’s identity and visual anchors. This may include age, gender, face shape, hairstyle, eye color, body type, outfit, accessories, personality, and visual style.
The layout description tells the model how to arrange the character views on the page.
For a simple reference sheet, you can ask for a clean two-row layout. The first row can show full-body views. The second row can show chest-up close-ups.
For example:
“Create a clean character reference sheet for the same character. Use a two-row layout. The top row shows full-body views from the front, back, left side, and right side. The bottom row shows chest-up close-up views from the front, back, left side, and right side. Add clear text labels under each view.”
This layout is easy for beginners because it is structured, readable, and not too crowded.
For a more complex character sheet, you can use the prompt to design a custom layout. For example, you may want one section for full-body views, one section for facial expressions, one section for costume details, and one section for props.
I strongly recommend adding text labels to each view.
Labels can make the sheet easier to reuse later. When you use the sheet as a reference for generating a specific video shot, these labels help the model understand which angle or detail you are referring to.
Another important detail is the background.
Keep the background clean. A plain solid-color background is usually best. The background color should also be clearly different from the character’s main colors.
For example, if the character wears dark clothes, avoid a dark gray or black background. If the character has white hair or a white outfit, avoid a pure white background.
This reduces the chance that the AI will misunderstand the character’s outline. It also helps prevent missing parts in later video generation, such as hair, sleeves, accessories, or the edge of clothing blending into the background.
A good reference sheet should be clean, sharp, and easy to understand.
You are not trying to create the most artistic poster. You are creating a visual asset that the AI can read again and again.
That is why the best character reference sheet is usually simple, organized, and consistent.
Write a Character Consistency Prompt That Can Be Reused
A simple version:
Create a professional character reference sheet for [the image of your character]Plain background.Arrange into four vertical columns, each representing one viewing angle. Each column contains a full-body view on top and a matching close-up portrait directly beneath it.
Columns (left → right):
Column 1: front view (fullbody above, front portrait below)
Column 2: left profile (fullbody character facing left) with portrait facing left below
Column 3: right profile (fullbody character facing right) with portrait facing right below
Column 4: back view, with matching portrait below.
Maintain even spacing and framing around the character portraits. Clean silhouette, consistent alignment, and clean panel separation. Photorealistic, DSLR, muted tones. No Text. Thin borders.
A complex version:
Create a character reference sheet based on [one full-body character picture] in the images (preserve her exact facial identity, proportions, and features). Apple design style.
[Character] is wearing the same clothes.
Identity & realism: Preserve exact facial structure, proportions, and details
Natural skin texture (visible pores, slight imperfections, no over-smoothing)
Realistic hair and lighting response No stylization, no CGI look, no illustration
Pose & styling: Neutral A-pose (arms slightly away), not matching original pose
Expression calm and neutral
Lighting: soft studio lighting, cinematic but natural
Background: Pure white (#FFFFFF)
No gradients, no environment, no shadows on background
Layout: Top row (horizontal, evenly spaced):
Upper Body Front
Upper Body Side
Upper Body Back
Bottom section (vertically aligned):
Front Face Close-up
Left-side Face Close-up
Eye Close-up
ear Close-up
Neck close up