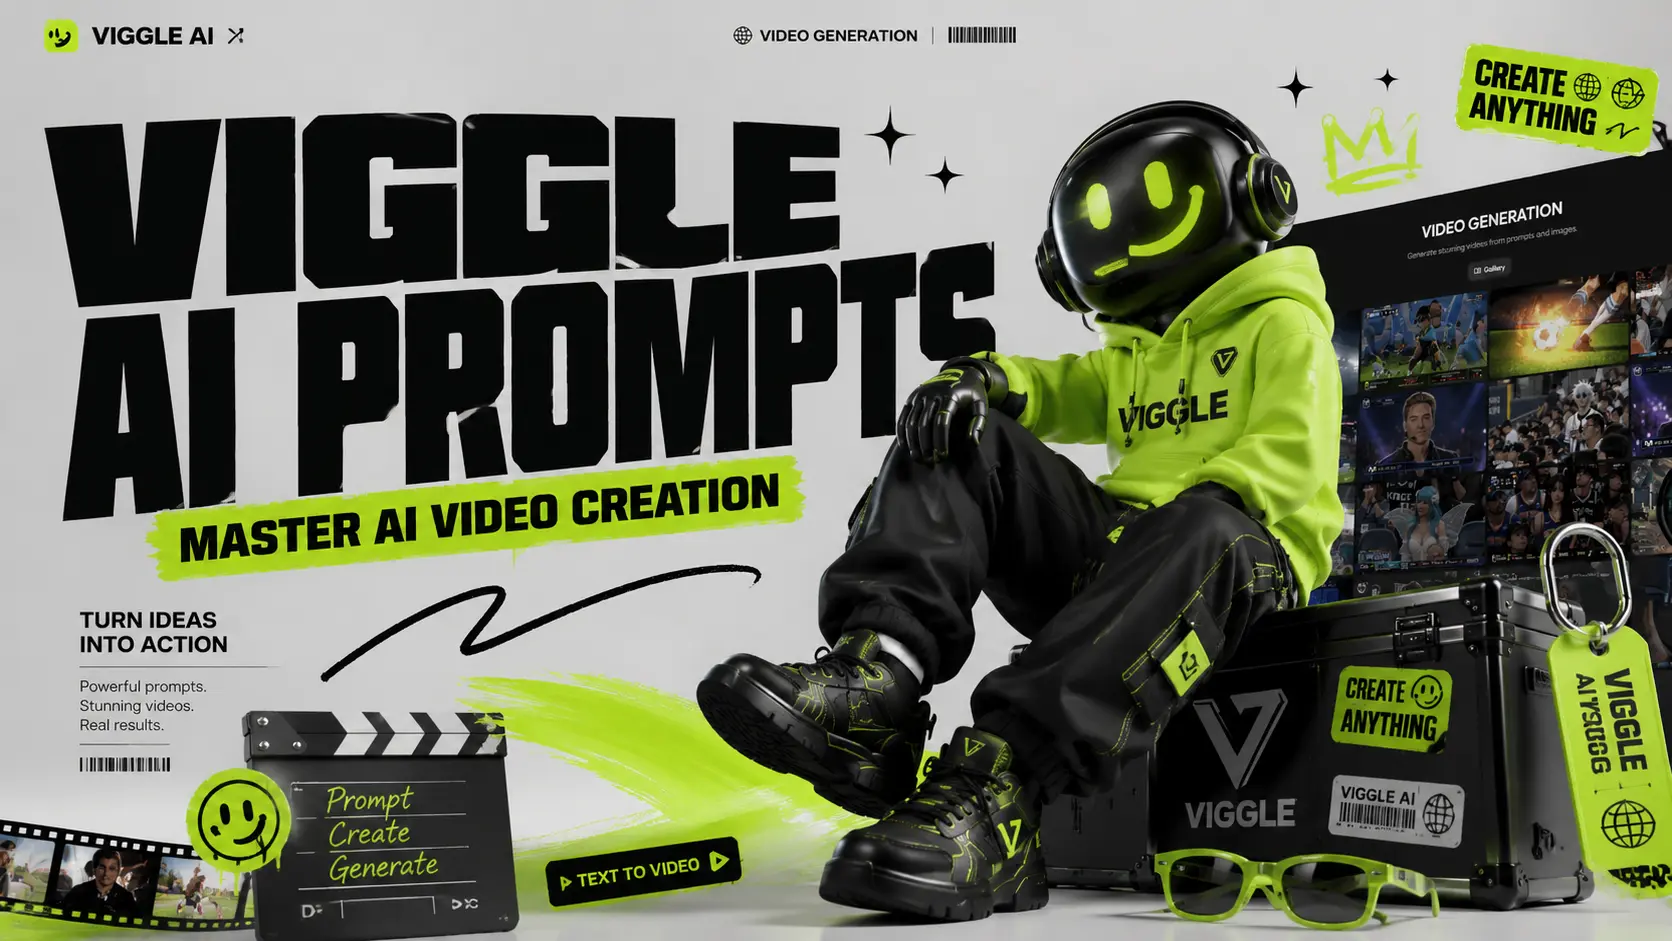
Viggle AI Prompts You Can Copy Before the Trend Dies
Viral AI videos move fast. One day everyone is making a dancing baby; the next day your feed is full of anime edits, football clips, superhero memes, and lip-sync videos. Viggle AI makes these videos easier to create, but the real shortcut is not the tool itself. It is the prompt. The platform is built for controllable AI video generation, letting users turn photos into dancing, lip-syncing, meme-style, and performance videos. But if your prompt is too vague, your result can look blurry, stiff, or completely off-trend. This guide helps you find practical Viggle AI prompts by category so you can copy, paste, adjust, and generate faster for TikTok, Instagram Reels, YouTube Shorts, memes, fan edits, music videos, and character animations. Where Are Viggle AI Prompts? There are two main places where you can find ready-made AI video prompts on the official Viggle AI website. These prompts come from videos created and shared by real users, so they are useful references if you want to understand how popular Viggle AI videos are made. First path: on the homepage After entering the official Viggle AI website, scroll down until you see the “Video Gallery” section. This area showcases some of the recent popular AI video ideas created with Viggle AI. Click any video in the gallery, and you can view the source materials, prompt, and key settings used to generate that video. If you want to explore more examples, simply click “View More” to browse additional user-created videos. Although the homepage also includes samples such as Sing & Dance, meme creation, and other quick templates, many of these are mainly powered by Viggle AI’s “Mix Video” feature. In this workflow, users can create videos without writing a detailed prompt. However, the result may sometimes look less natural, especially when the character appears to float over the original video layer. This “floating layer” effect will soon be addressed by AI Image to Video’s upcoming Motion Control feature. The second path: Text to Video Click “Text to Video” on the left-side to enter Viggle AI’s video generation page. On this page, Viggle AI also recommends trending AI video examples based on popular usage and creative styles. You can click a recommended video to copy the same configuration into the editing workspace, then study its prompt structure, visual direction, and generation settings. For users who want to create more polished AI videos, ready-made prompts are not just copy-paste templates. They are learning materials. By studying how other creators describe characters, actions, scenes, camera style, and visual mood, you can better understand what makes a prompt effective. Finding Prompts on TikTok, YouTube, and Reddit ● TikTok: Follow the #ViggleAIprompt hashtag for trending prompts attached to viral videos● YouTube: Creator tutorials from channels like AI Andy (177K views) and Sejin AI (138K views) regularly share prompt breakdowns● Reddit: Communities like r/StableDiffusion discuss prompt techniques and compare Viggle results with other tools At AI Image to Video, we aim to make video generation easier while also encouraging users to learn, test, and improve their AI video prompts with different tools and resources. That is why we will continue updating our Prompts Guide blog series. These articles are designed to help users understand how to write better prompts for AI video generation, image-to-video effects, character animation, and viral social media content. You can find our prompt-related articles through the “Prompt” entrance in the top navigation bar of our website. You can also access the series from the “Prompt Enhancer” section on the homepage. Best Viggle AI Dance Prompts Dance videos are the most popular Viggle use case and carry the highest viral potential on TikTok and Instagram Reels. These Viggle AI dance prompts are sourced from trending content and community libraries. Dance prompts are the easiest way to create viral-style clips. They work especially well for TikTok trends, reaction videos, influencer edits, and character memes. Prompt 1:A full-body person wearing a bright neon tracksuit, white sneakers, and sunglasses, standing confidently on a clean white background, high-energy TikTok dance video style. Prompt 2:A person wearing an oversized graphic T-shirt, loose cargo pants, and chunky sneakers, standing straight with arms relaxed, green screen background, trendy streetwear dance video style. Prompt 3:A stylish female performer wearing a glittery stage outfit and boots, standing under colorful concert lights, confident expression, music video performance style. Prompt 4:A male performer in a black leather jacket, dark jeans, and boots, standing in a spotlight on a stage, dramatic pop-star dance performance style. Tip: Dance prompts work best when the outfit has clear shape and contrast. Avoid complicated patterns that may flicker during movement. Best Viggle AI Meme & Comedy Prompts Meme videos work because the character and motion often do not match. A serious character doing a ridiculous dance is funnier than a funny character doing a funny dance. Prompt 1:A serious office worker wearing a formal business suit, holding a folder, standing in a plain office, confused expression, realistic meme video style. Prompt 2:A superhero character wearing a dramatic cape and tight suit, standing in a heroic pose on a green screen background, exaggerated comedy meme style. Prompt 3:A security guard in a clean uniform, standing stiffly at attention in front of a building entrance, serious face, funny viral meme style. Prompt 4:A tired student wearing a hoodie and backpack, standing in a classroom, sleepy expression, relatable school meme style. Tip: The bigger the contrast, the better the meme. Pair serious characters with silly dances, dramatic falls, or awkward movements. Best Viggle AI Anime & Character Prompts Anime prompts need more detail than realistic prompts. Focus on hair, eyes, outfit, and pose. Prompt 1:An anime girl with long blue twin-tail hair, large expressive eyes, wearing a Japanese school uniform with a pleated skirt and knee socks, full body, white background, clean anime style. Prompt 2:An anime boy with spiky silver hair, sharp eyes, wearing a long black coat over a red shirt, combat boots, standing in a ready pose, cinematic anime action style.

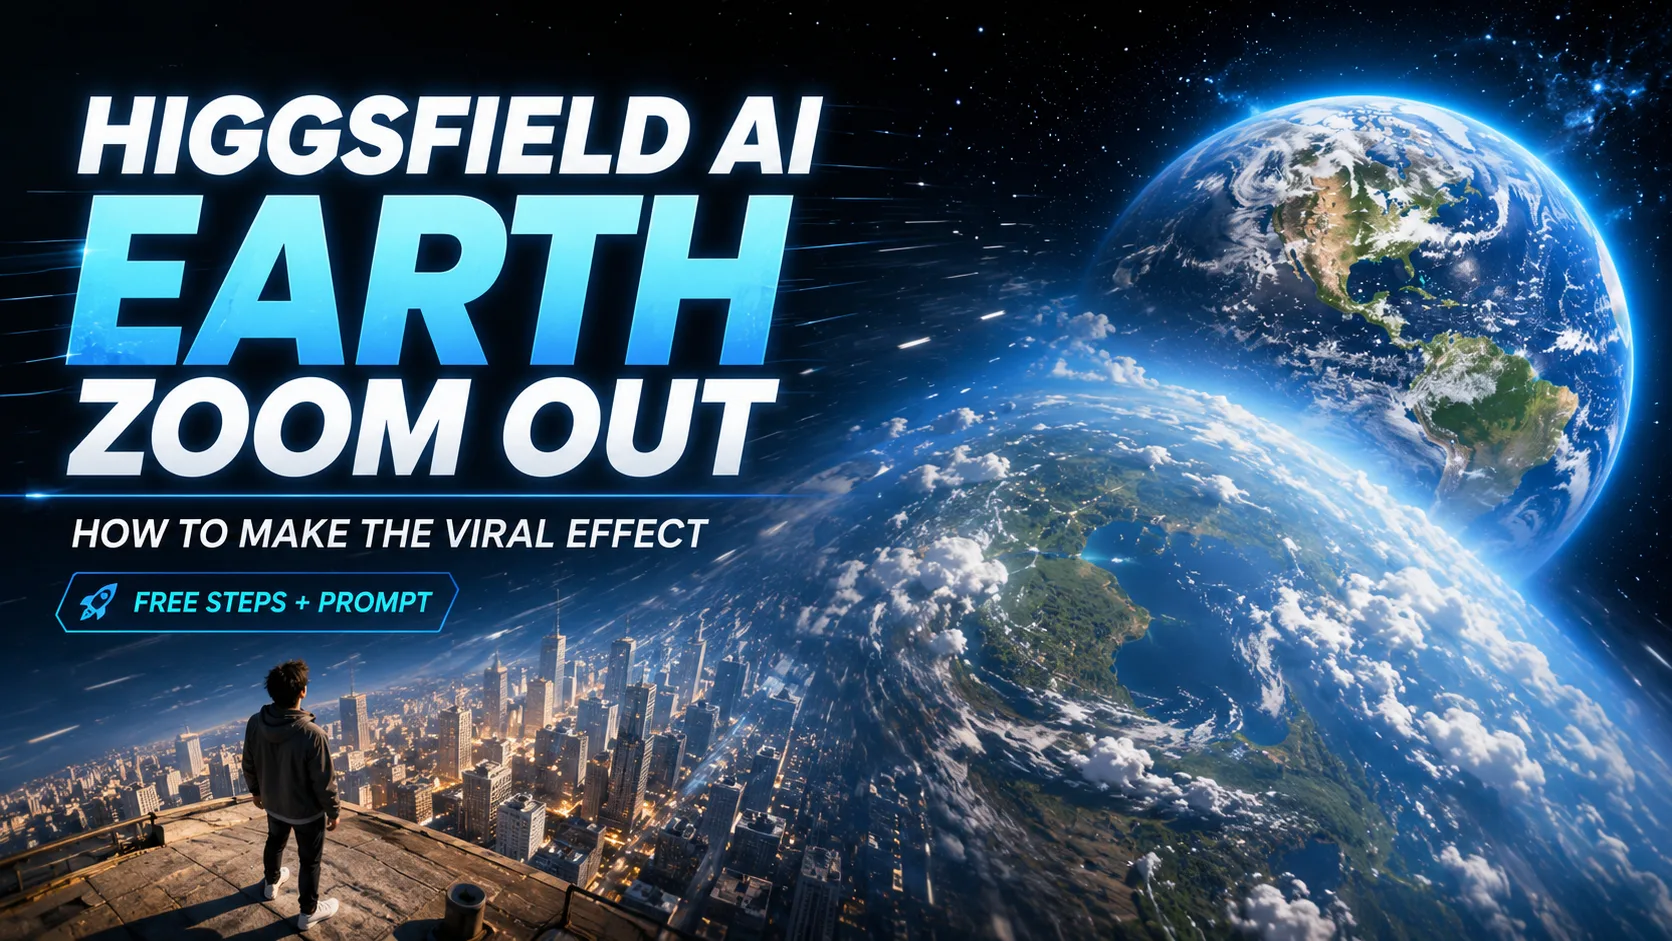

Incredible Cinematic Camera Controls
I've tried many tools, but the Higgsfield AI earth zoom in and out feature is unmatched. It gives my travel vlogs a massive cinematic upgrade. The free credits let me test it thoroughly, and I immediately upgraded to Higgsfield pro for unlimited access. Truly the best AI video generator from image I've used.
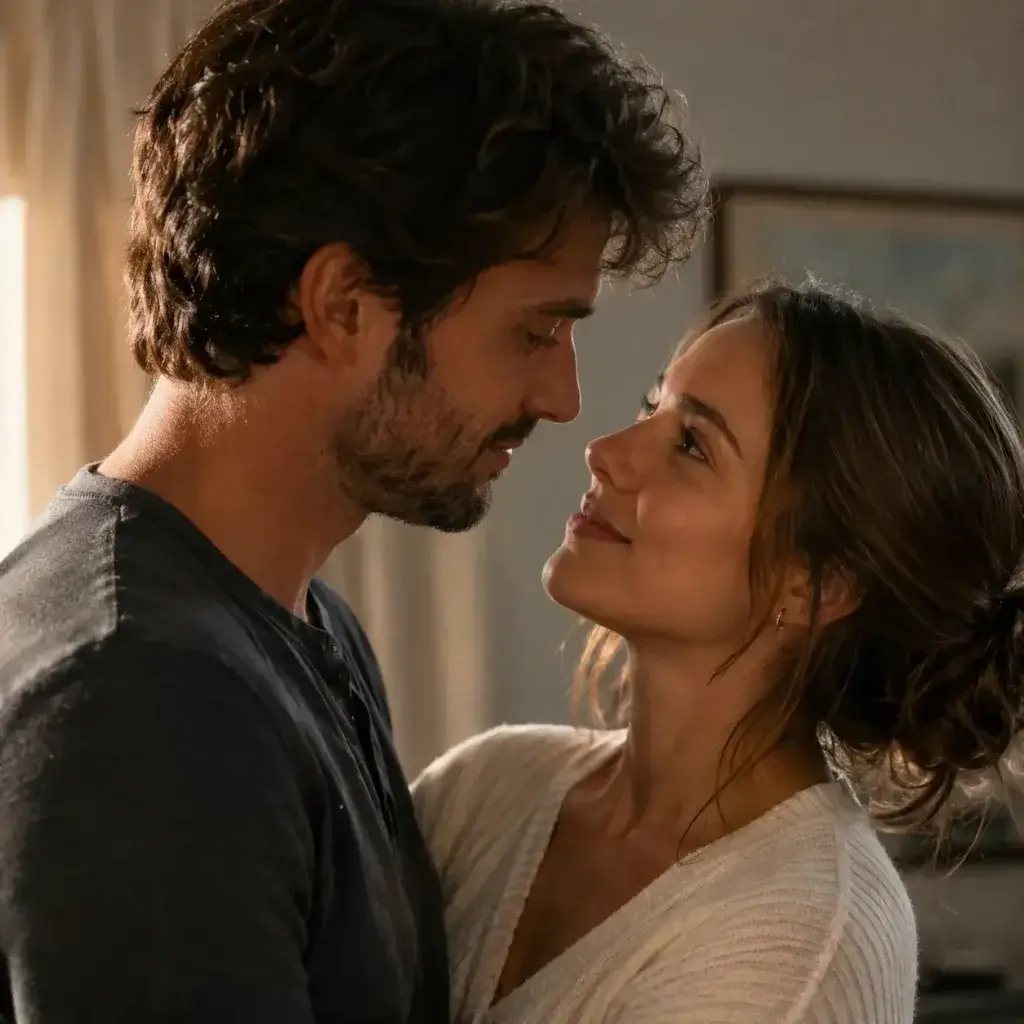
Realistic Character Animations
The AI hugs and AI eye contact effects are surprisingly natural. I use Higgsfield AI for my short films, and the character interactions save me hours of manual animation. Reading Higgsfield AI news and reviews convinced me to try it, and the results completely exceeded my expectations for an AI tool.
Great Value Compared to Alternatives
When comparing Higgsfield AI vs veo 3 or unlimited kling, Higgsfield offers the best balance of quality and price. The Higgsfield AI pricing is very fair, especially with the free trial. I love that I can create professional Higgsfield shots without needing subscription lock-ins that drain my budget.
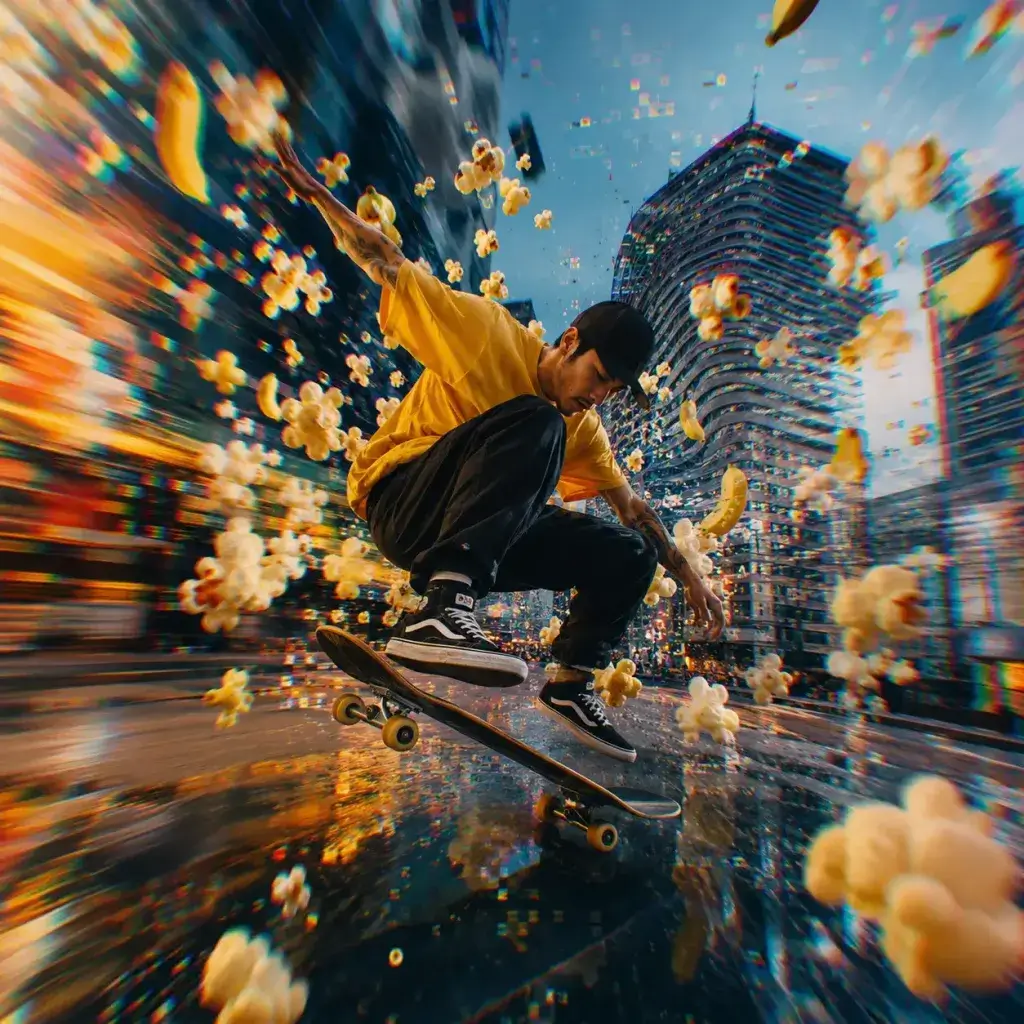
Unique Visual Effects and Transitions
The vibe motion and Higgsfield popcorn effects are so unique! I use them for my music videos to create trippy, engaging visuals. The Higgsfield transition tools are smooth, and the image to video AI processing is incredibly fast. It has completely transformed my creative workflow and visual style.
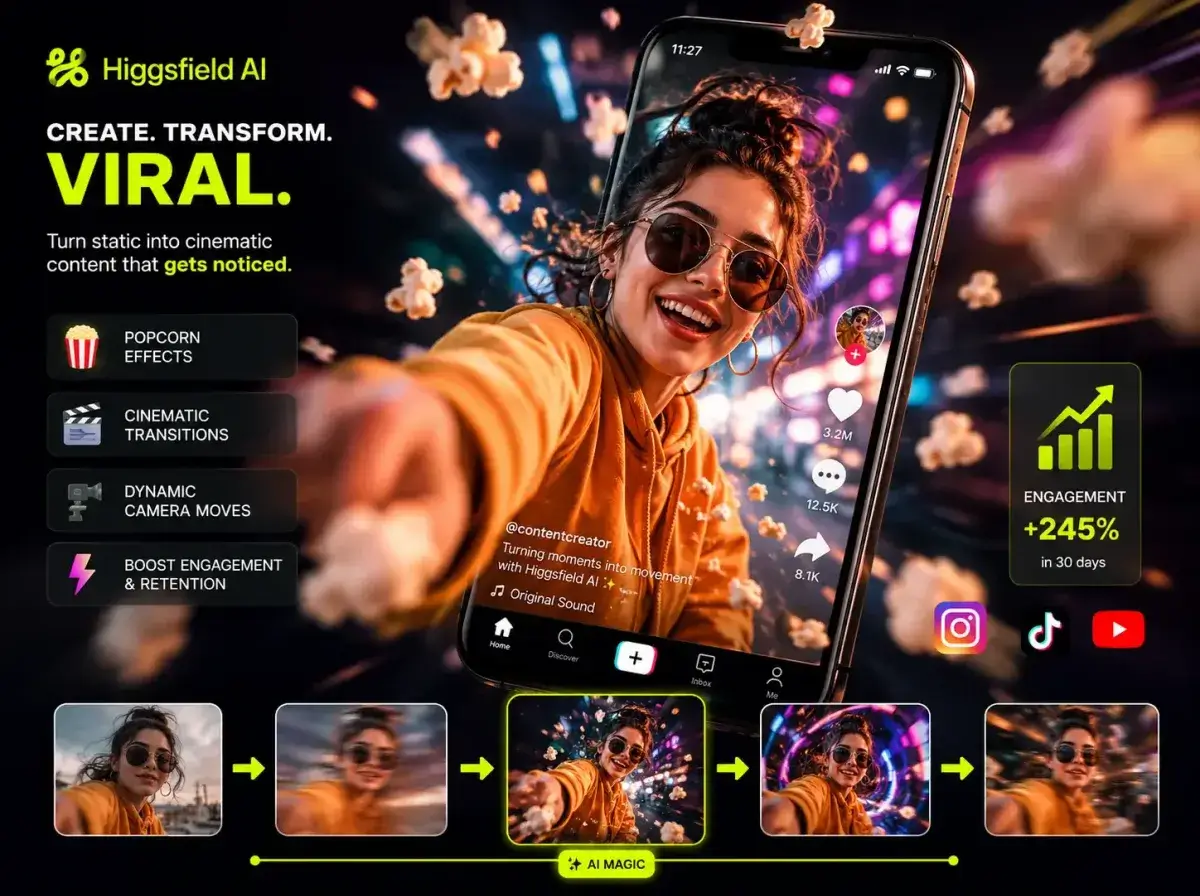
Perfect for Quick Social Media Edits
As a social media manager, I need fast results. Higgsfield AI lets me turn client photos into dynamic video ads in minutes. The zoom out photo effects and Higgsfield nano banana filters add a trendy look that my clients love. The Higgsfield AI credits system is flexible and perfect for agency work.
Excellent for Storyboarding Projects
I use this as a digital cinema studio for storyboarding. The ability to generate specific camera angles and AI image and video generation sequences helps me pitch concepts to clients effectively. The Higgsfield AI tutorial videos made the learning curve very gentle. Highly recommended for filmmakers and directors.
Incredible Cinematic Camera Controls
I've tried many tools, but the Higgsfield AI earth zoom in and out feature is unmatched. It gives my travel vlogs a massive cinematic upgrade. The free credits let me test it thoroughly, and I immediately upgraded to Higgsfield pro for unlimited access. Truly the best AI video generator from image I've used.
Realistic Character Animations
The AI hugs and AI eye contact effects are surprisingly natural. I use Higgsfield AI for my short films, and the character interactions save me hours of manual animation. Reading Higgsfield AI news and reviews convinced me to try it, and the results completely exceeded my expectations for an AI tool.
Great Value Compared to Alternatives
When comparing Higgsfield AI vs veo 3 or unlimited kling, Higgsfield offers the best balance of quality and price. The Higgsfield AI pricing is very fair, especially with the free trial. I love that I can create professional Higgsfield shots without needing subscription lock-ins that drain my budget.
Unique Visual Effects and Transitions
The vibe motion and Higgsfield popcorn effects are so unique! I use them for my music videos to create trippy, engaging visuals. The Higgsfield transition tools are smooth, and the image to video AI processing is incredibly fast. It has completely transformed my creative workflow and visual style.
Perfect for Quick Social Media Edits
As a social media manager, I need fast results. Higgsfield AI lets me turn client photos into dynamic video ads in minutes. The zoom out photo effects and Higgsfield nano banana filters add a trendy look that my clients love. The Higgsfield AI credits system is flexible and perfect for agency work.
Excellent for Storyboarding Projects
I use this as a digital cinema studio for storyboarding. The ability to generate specific camera angles and AI image and video generation sequences helps me pitch concepts to clients effectively. The Higgsfield AI tutorial videos made the learning curve very gentle. Highly recommended for filmmakers and directors.