Seedream 5.0 Pro: Unlock The Most Suitable Prompting for AI Image
Seedream 5.0 Pro is ByteDance Seed’s new AI image generation and editing model, built for more controlled visual creation. As image models become more powerful, prompts also need to evolve. A simple subject + style prompt is no longer enough if you want structured infographics, UI mockups, commercial visuals, multilingual posters, or precise image edits. The real question is: how should you prompt Seedream 5.0 Pro differently? This guide breaks down official Seedream 5.0 Pro examples and turns them into reusable prompt formulas. What Makes Seedream 5.0 Pro Different? Seedream 5.0 Pro is useful because it is built closer to a design tool than a simple image generator. It does not only create attractive visuals. It tries to understand how information, objects, text, and design elements should be arranged inside an image. Information-heavy images better One of the biggest upgrades is complex information visualization. ByteDance says Seedream 5.0 Pro can turn data, concepts, and dense text into professional layouts. This makes it useful for infographics, educational posters, comparison charts, product explainers, report visuals, and social media knowledge cards. This matters because information images are difficult. The model has to plan the layout, place text correctly, separate sections, keep the hierarchy readable, and still make the image look good. More precise editing Seedream 5.0 Pro is also designed for interactive precision editing. According to the official release, it can use spatial positioning and regional understanding to support point selection, lasso selection, sketch rendering, color editing, material replacement, and multi-image fusion. In simple terms, you can ask it to change one part of an image without regenerating everything. For example, instead of saying “make this room look better,” you can say: change only the sofa fabric, keep the lighting and room layout unchanged. That kind of prompt is much more useful for real design work. ByteDance also demonstrates layer separation in its official materials. However, as of this writing, the layer separation workflow is not yet broadly available in every public product workflow, so this guide will not treat it as a ready-to-use core method. Realistic commercial visuals Seedream 5.0 Pro also focuses on realistic lighting, material behavior, skin texture, reflections, architecture, and photographic quality. This makes it useful for product ads, fashion visuals, portrait photography, interior design, lifestyle images, and cinematic still frames. For creators, this means the model can help produce more polished source images before turning them into videos. Multilingual image generation Seedream 5.0 Pro can also work with multilingual prompts and generate text in more than ten commonly used languages, including Chinese, English, French, German, Russian, Japanese, Korean, Spanish, and Arabic. This is useful for global ads, localized posters, multilingual social posts, and international marketing visuals. How Official Seedream 5.0 Pro Prompts Work The official examples show that Seedream 5.0 Pro performs best when the prompt is structured like a design brief. Official example: Antarctic research infographic One official example asks Seedream 5.0 Pro to create an infographic about scientific research at Antarctica’s Qinling Station. The prompt does not simply say “make an infographic about Antarctica.” It asks for the main Qinling Station building in the center. Around it, the model should add a timeline, bar chart, pie chart, line chart, equipment photos, weather panel, fieldwork flowchart, and sampling photography. The lesson is simple: Tell the model what sections, charts, cards, labels, and panels should appear. As we early users find, if you don’t specify the layout, labels, or information hierarchy, the model often won’t invent them for you. While this requires more detailed prompting, it also gives creators much more control over the final design. Official example: pet e-commerce homepage UI The pet e-commerce example is useful for UI and landing page creators. The prompt asks for a 16:9 pet e-commerce homepage in warm sunset tones. It includes a top navigation bar, left-side text area, product cards, a capsule-shaped button, and a right-side Golden Retriever image. The most brilliant creative touch in this UI design is the cross-layer interaction: the dog’s paw breaks out of the right frame and presses the button on the left. This shows that Seedream 5.0 Pro can understand spatial relationships inside a designed layout. But achieving this requires a clearly detailed prompt, as it is not something the model generates automatically. Official example: material and color editing This is one of the cases I feel most interesting. Another official case uses multiple references: Image 1 provides material, Image 2 provides a color swatch, and Image 3 is the sofa image to edit. The lesson is important: When you upload multiple reference images, give each image a job. Surprisingly, Seedream 5.0 Pro also has no trouble understanding handwritten draft instructions. This means that even when you’re outdoors, as long as you have a smartphone or an iPad, you can simply sketch your editing requirements directly onto the original image—eliminating the need to type out lengthy, essay-like prompts. Official example: panning shot photography Seedream 5.0 Pro also shows a panning shot example. The prompt keeps the cyclist and bicycle sharp, stretches the background into horizontal motion blur, and adds rotational blur to the wheel spokes. This is useful for image-to-video creators. A motion-ready still image gives the video model a stronger starting point. Seedream 5.0 Pro Prompt Formula Based on the official examples, Seedream 5.0 Pro prompting can be grouped into four practical categories. 1. Informational Visual Prompt Use this for infographics, educational posters, comparison charts, beginner guides, product explainers, report visuals, tutorial cards, and grid-based knowledge images. The goal is to help the model organize information clearly. Formula: “Create a [visual format] about [topic]. Use a [layout type] layout. Include [main subject or title]. Add [module/card 1], [module/card 2], [module/card 3], and [module/card 4]. Each section should include [labels / short descriptions / icons / charts / illustrations]. Keep the hierarchy clear, text readable, and design style [style].” Example: “Create a 16:9 educational infographic about how AI image-to-video generation works. Use a clean modular layout. Place a source image in the center.
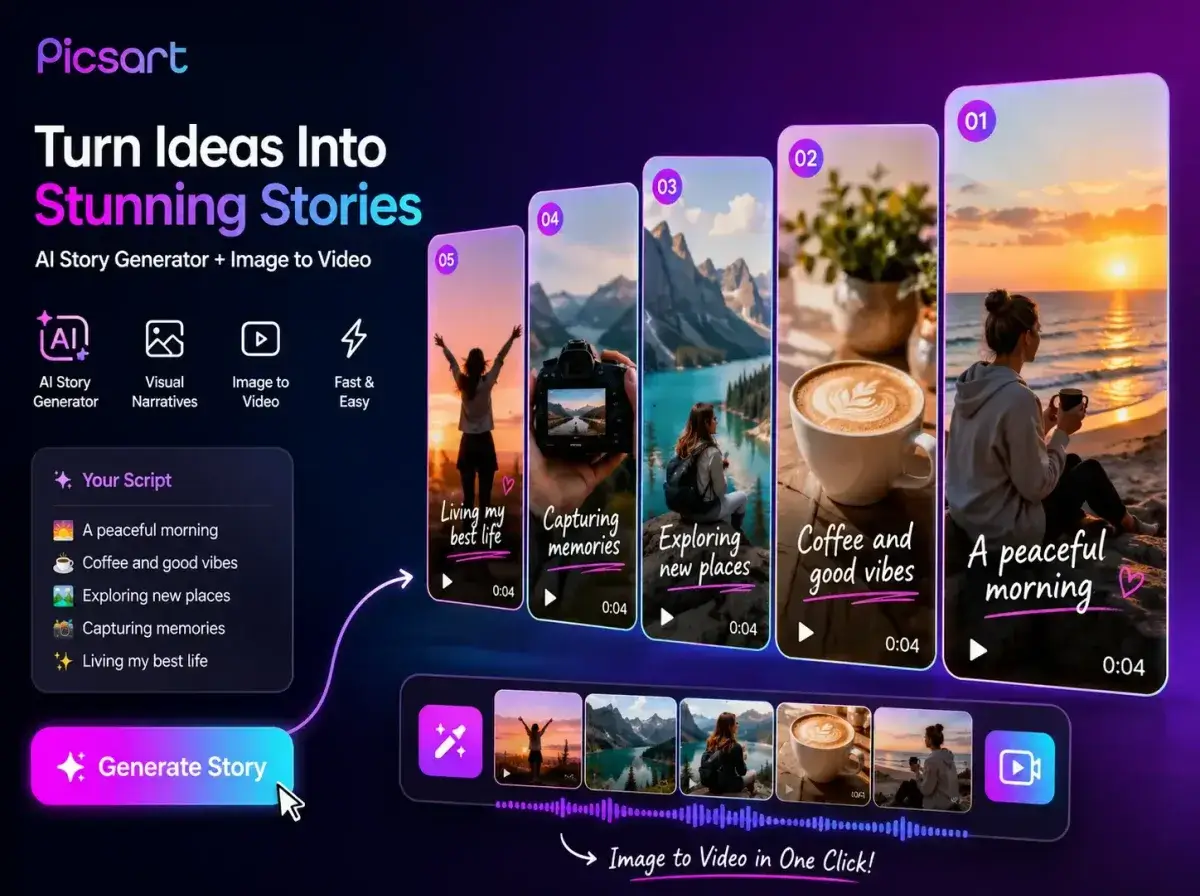


Amazing for Quick Social Clips
I needed a fast way to make Reels, and this tool delivered perfectly. The interface is intuitive, and the rendering speed is incredible. It has completely replaced my old editing workflow, saving me hours every week. Highly recommended for creators!
Best Alternative to Other Editing Apps
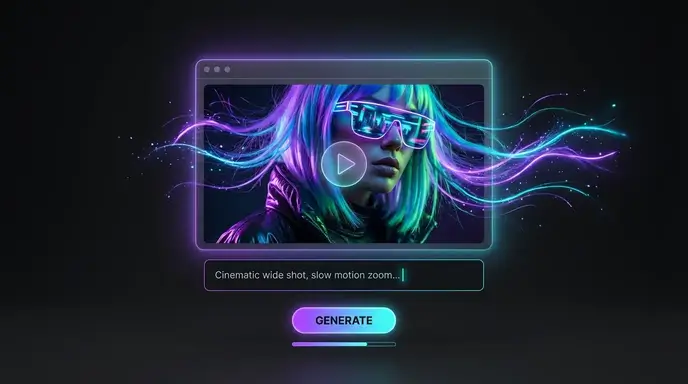
I have tried many apps like picsart, but this ai video generator picsart alternative is on another level. The text-to-video accuracy is stunning, and I love how easy it is to adjust the camera motions. It is now my go-to platform for all client projects.
Perfect for E-commerce Product Demos
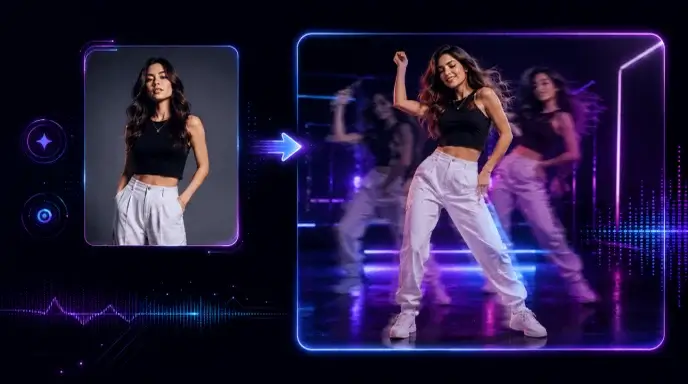
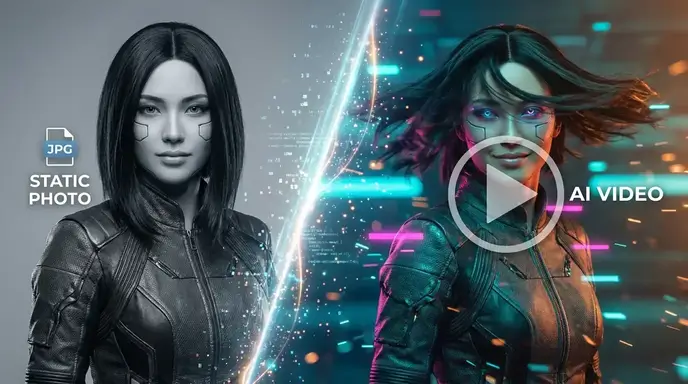
Generating product videos used to take days of filming. Now, I just upload a photo and get a professional 3D-style video in seconds. The lighting and motion controls are fantastic, making my online store look much more professional and engaging.
Incredible AI Character Animation
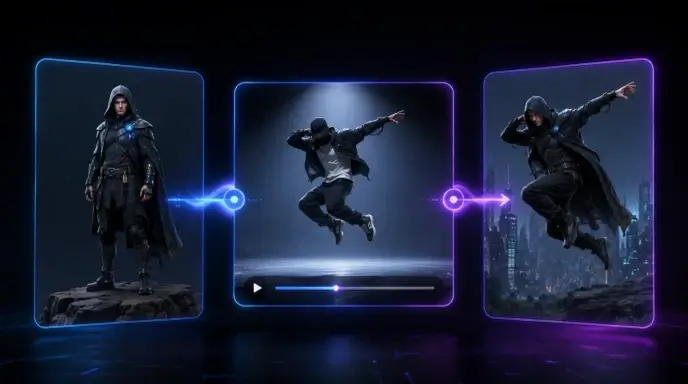
The character animation features of the picsart ai video generator are mind-blowing. I used it to bring my digital avatars to life with realistic lip-sync and natural movements. It is an absolute game-changer for my storytelling channel, and the output quality is consistently high.
Seamless Workflow and Export Options
What I appreciate most is the seamless export process. I can generate a video and instantly download it in 4K without any watermarks. The platform is reliable, fast, and incredibly user-friendly, making my daily content creation process completely stress-free.
Great for Marketing Campaigns
Our marketing team uses this tool to draft video concepts before committing to expensive production shoots. It helps us visualize ideas quickly and present them to stakeholders. The AI understands complex prompts surprisingly well, resulting in highly accurate visual drafts.
Amazing for Quick Social Clips
I needed a fast way to make Reels, and this tool delivered perfectly. The interface is intuitive, and the rendering speed is incredible. It has completely replaced my old editing workflow, saving me hours every week. Highly recommended for creators!
Best Alternative to Other Editing Apps
I have tried many apps like picsart, but this ai video generator picsart alternative is on another level. The text-to-video accuracy is stunning, and I love how easy it is to adjust the camera motions. It is now my go-to platform for all client projects.
Perfect for E-commerce Product Demos
Generating product videos used to take days of filming. Now, I just upload a photo and get a professional 3D-style video in seconds. The lighting and motion controls are fantastic, making my online store look much more professional and engaging.
Incredible AI Character Animation
The character animation features of the picsart ai video generator are mind-blowing. I used it to bring my digital avatars to life with realistic lip-sync and natural movements. It is an absolute game-changer for my storytelling channel, and the output quality is consistently high.
Seamless Workflow and Export Options
What I appreciate most is the seamless export process. I can generate a video and instantly download it in 4K without any watermarks. The platform is reliable, fast, and incredibly user-friendly, making my daily content creation process completely stress-free.
Great for Marketing Campaigns
Our marketing team uses this tool to draft video concepts before committing to expensive production shoots. It helps us visualize ideas quickly and present them to stakeholders. The AI understands complex prompts surprisingly well, resulting in highly accurate visual drafts.