Model
Video Fast 1.0 Free
Endless creativity, minimal cost. Reserved for early supporters
Prompt
0 / 2500
Aspect Ratio
1:1
3:4
4:3
9:16
16:9
Duration
3 s
5 s
Resolution
480p
720p
Number of Results
Create
Sample Video
Sample video preview

Vidu AI Video Generator Alternative: Reference to Video AI With No Sign Up

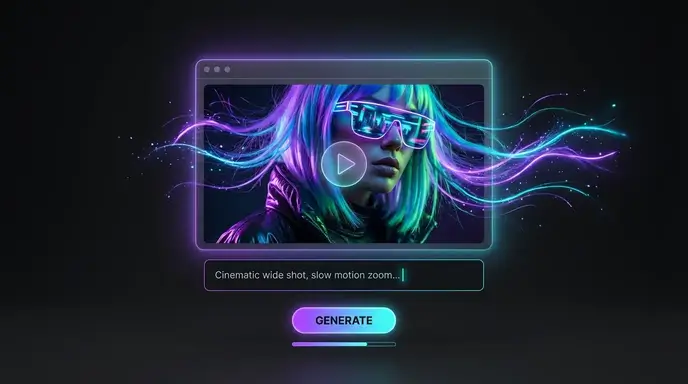
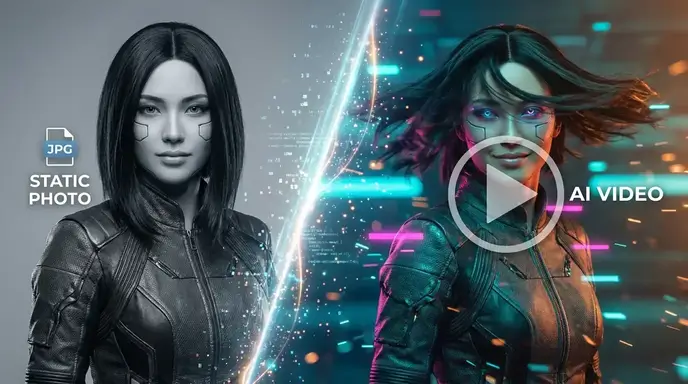
Discover a powerful Vidu alternative that serves as a top-tier image to video AI. This AI video generator free tool allows you to transform prompts into stunning clips without any sign-up barriers, making it perfect for creators seeking quick results.

Prompt
A cinematic anime-style still of a character standing on a rooftop at dusk animates, with wind rippling through their hair and coat as city lights begin to flicker on in the distance.
Generated Clip
Prompt
A 2D illustration of a magical forest transforms into motion, with glowing fireflies floating between ancient trees and a gentle mist rolling across the moss-covered ground.
Generated Clip
Prompt
A stylized portrait of a warrior in traditional armor comes to life with subtle breathing motion, a dramatic camera zoom, and particles of energy swirling around their weapon.
Generated Clip

Why Choose Our Vidu AI Video Generator for AI Image & Text to Video

Our platform delivers high-quality AI generated video content with precise motion control. Unlike other tools with complex pricing, we offer accessible features for every creator, utilizing advanced reference to video AI technology to ensure smooth, realistic animations.

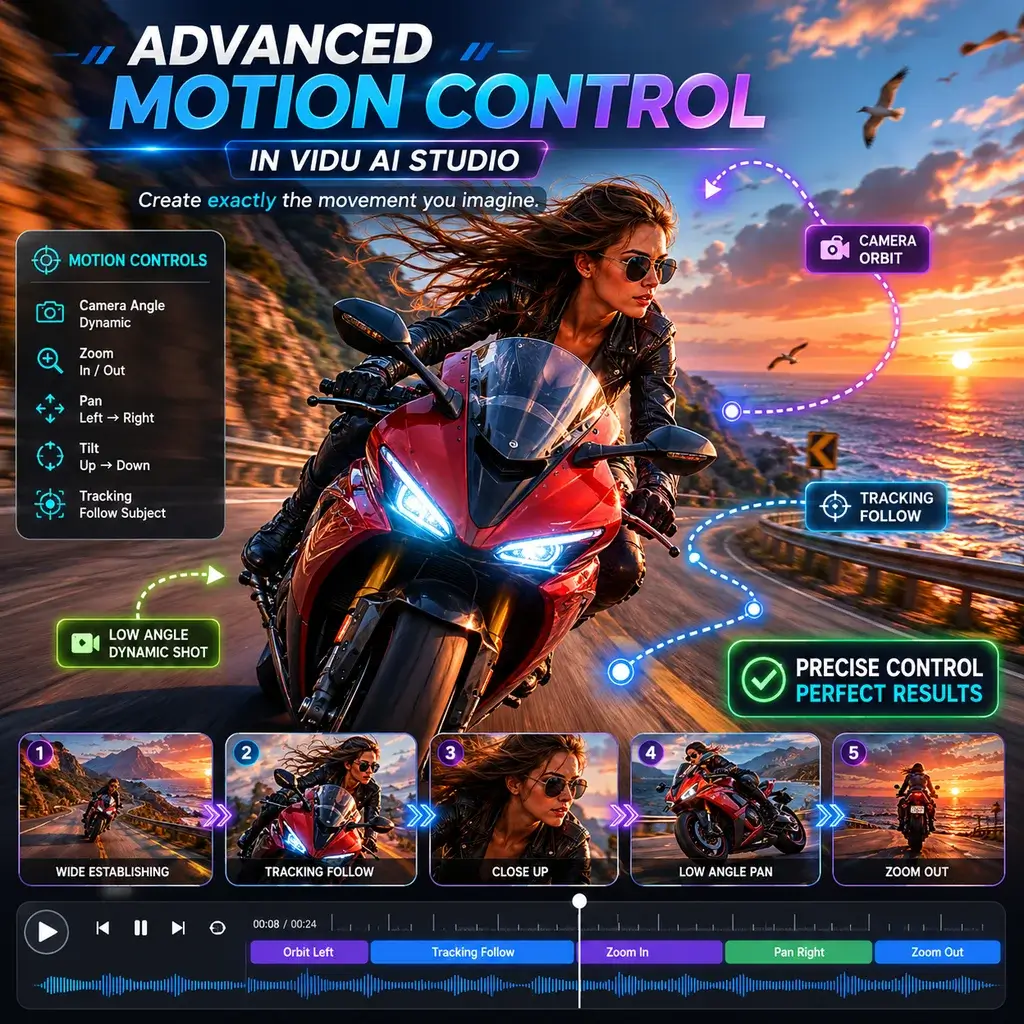
Advanced Motion Control in Vidu AI Studio

Achieve precise movement with our Vidu AI image to video capabilities. The built-in motion control allows you to dictate camera angles and subject dynamics, ensuring your AI video matches your exact creative vision without relying on unpredictable random generation.

Generate Now

Use Reference to Video AI for Consistent AI Videos

Maintain character and style consistency by using our reference to video AI feature. Upload a sample clip, and the system will generate a new Vidu AI video that mimics the original motion and aesthetic, perfect for creating cohesive series or matching specific brand guidelines.

Generate Now

Transparent Vidu AI Pricing and Free Tier Details

We believe in accessible creativity. Explore our generous Vidu AI free tier details to start generating immediately. When you need more, our transparent Vidu AI pricing offers scalable plans without hidden fees, ensuring you only pay for the compute power you actually use.

Generate Now

How to Generate Video Online Using AI Image & Text to Video

Step 1: Upload Image or Enter Text Prompt

Start your image to video journey by uploading a high-resolution source image or typing a detailed text prompt into the Vidu.ai interface. Ensure your prompt includes specific lighting and action cues for the best results.

Step 2: Adjust Settings and Motion Parameters

Customize your generation settings within the Vidu AI app dashboard. Select your desired aspect ratio, video duration, and apply specific motion control parameters to guide the AI, giving you full directorial control as a creator.

Step 3: Generate and Download Your AI Video

Click the generate button and wait a few moments for the rendering process to complete. Once your AI generated video is ready, preview it directly in the browser and download the high-quality MP4 file from the Vidu AI video generator free platform.

Top Application Scenarios for AI Generated Video Creators

Our platform empowers users to produce professional AI videos across multiple industries. Whether you are an indie filmmaker needing quick storyboards, a marketer creating engaging social media ads, or an educator visualizing complex concepts, this image to video AI adapts to your workflow. Vidu technology ensures that dynamic scenes, from subtle facial expressions to sweeping landscapes, are rendered with cinematic quality, making it an indispensable asset for modern digital storytelling and rapid content prototyping.

Romance
Anime
Emotional
Agencies

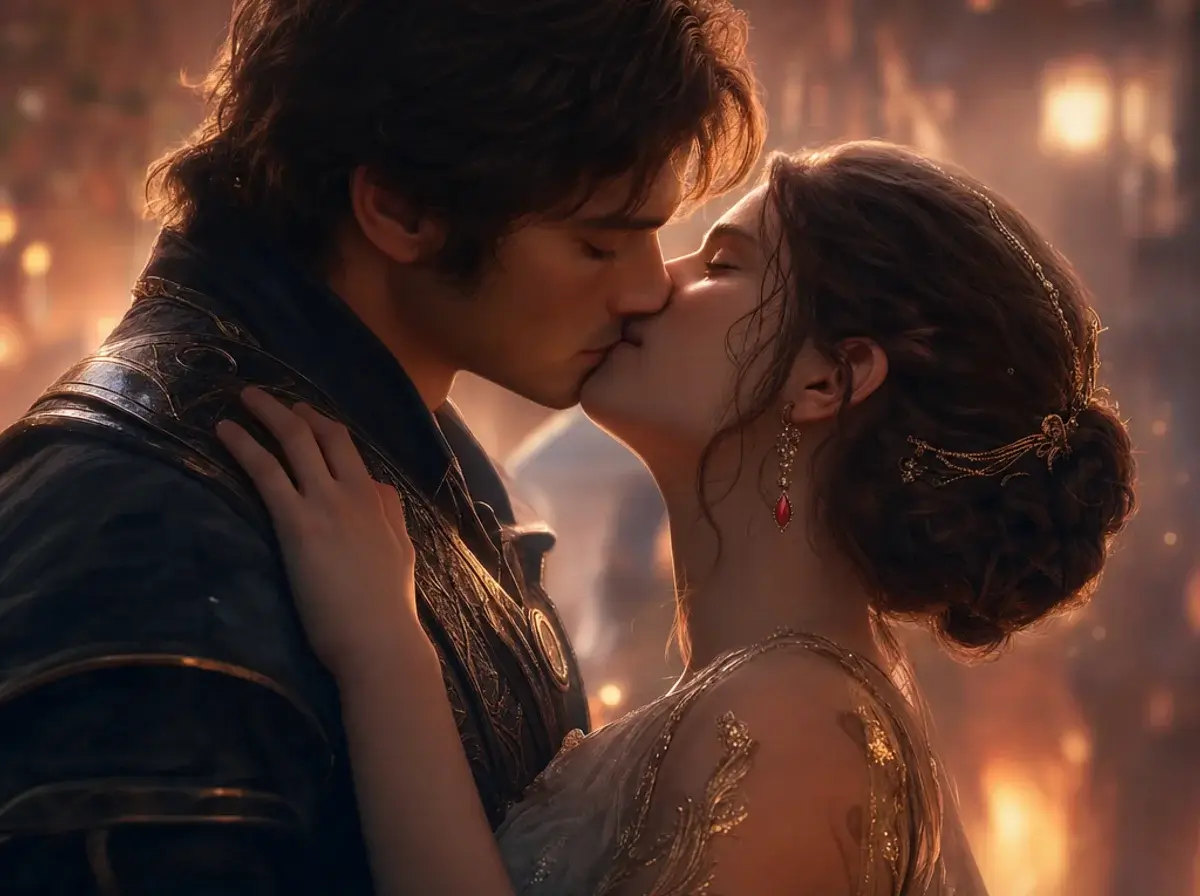
Cinematic Romance Scenes with AI Kiss Generator

Filmmakers and animators can use our specialized AI kiss generator to choreograph intimate, emotionally resonant scenes. By combining subtle facial tracking with our AI hugging mechanics, the tool produces natural, fluid interactions between characters without the uncanny valley effect often seen in older models.

What Creators Say About Our Vidu AI Video Generator

Incredible Motion in Vidu AI Studio

As a freelance animator, I've tested many tools, but the Vidu AI studio completely blew me away. The way it handles complex camera pans while generating an AI video is unmatched. It saved me hours of manual keyframing.

Sarah Jenkins
Female

Seamless Image to Video on Mobile

I use the Vidu AI app on my tablet during my commute. Turning a quick sketch into a fluid image to video clip is incredibly intuitive. The interface is clean, and the rendering speed is surprisingly fast for a mobile experience.

Marcus Chen
Male

Best Free Tier for AI Generated Video

Finding a reliable Vidu AI video generator free of hidden watermarks is rare. I used it for a student film project, and the AI generated video quality was cinematic. The free credits were more than enough to finish my short.

Elena Rodriguez
Female

Realistic AI Kiss and Hugging Scenes

I needed a subtle romantic scene for my indie game trailer. The AI kiss generator produced a beautifully tender moment, and the AI hugging physics didn't clip through the character models at all. Truly impressive technology.

David Thorne
Male

Perfect for Vidu AI Anime Projects

Animating 2D manga panels is my niche. The Vidu AI anime model respects the original line art perfectly. Using the reference to video AI feature, I matched the exact frame rate and style of my previous episodes seamlessly.

Yuki Tanaka
Female

The Top Choice Among Sites Like Vidu AI

I've explored almost all sites like Vidu AI, but this platform stands out. It is genuinely the best Vidu AI alternative free to use, offering premium motion control features that others lock behind expensive paywalls.

James O'Connor
Male

Incredible Motion in Vidu AI Studio

As a freelance animator, I've tested many tools, but the Vidu AI studio completely blew me away. The way it handles complex camera pans while generating an AI video is unmatched. It saved me hours of manual keyframing.

Sarah Jenkins
Female

Seamless Image to Video on Mobile

I use the Vidu AI app on my tablet during my commute. Turning a quick sketch into a fluid image to video clip is incredibly intuitive. The interface is clean, and the rendering speed is surprisingly fast for a mobile experience.

Marcus Chen
Male

Best Free Tier for AI Generated Video

Finding a reliable Vidu AI video generator free of hidden watermarks is rare. I used it for a student film project, and the AI generated video quality was cinematic. The free credits were more than enough to finish my short.

Elena Rodriguez
Female

Realistic AI Kiss and Hugging Scenes

I needed a subtle romantic scene for my indie game trailer. The AI kiss generator produced a beautifully tender moment, and the AI hugging physics didn't clip through the character models at all. Truly impressive technology.

David Thorne
Male

Perfect for Vidu AI Anime Projects

Animating 2D manga panels is my niche. The Vidu AI anime model respects the original line art perfectly. Using the reference to video AI feature, I matched the exact frame rate and style of my previous episodes seamlessly.

Yuki Tanaka
Female

The Top Choice Among Sites Like Vidu AI

I've explored almost all sites like Vidu AI, but this platform stands out. It is genuinely the best Vidu AI alternative free to use, offering premium motion control features that others lock behind expensive paywalls.

James O'Connor
Male

News About Convert Image to Video for Youtube Short Video Maker

Kling Motion Control Review: How Accurate Is It?

Kling Motion Control Review: How Accurate Is It?

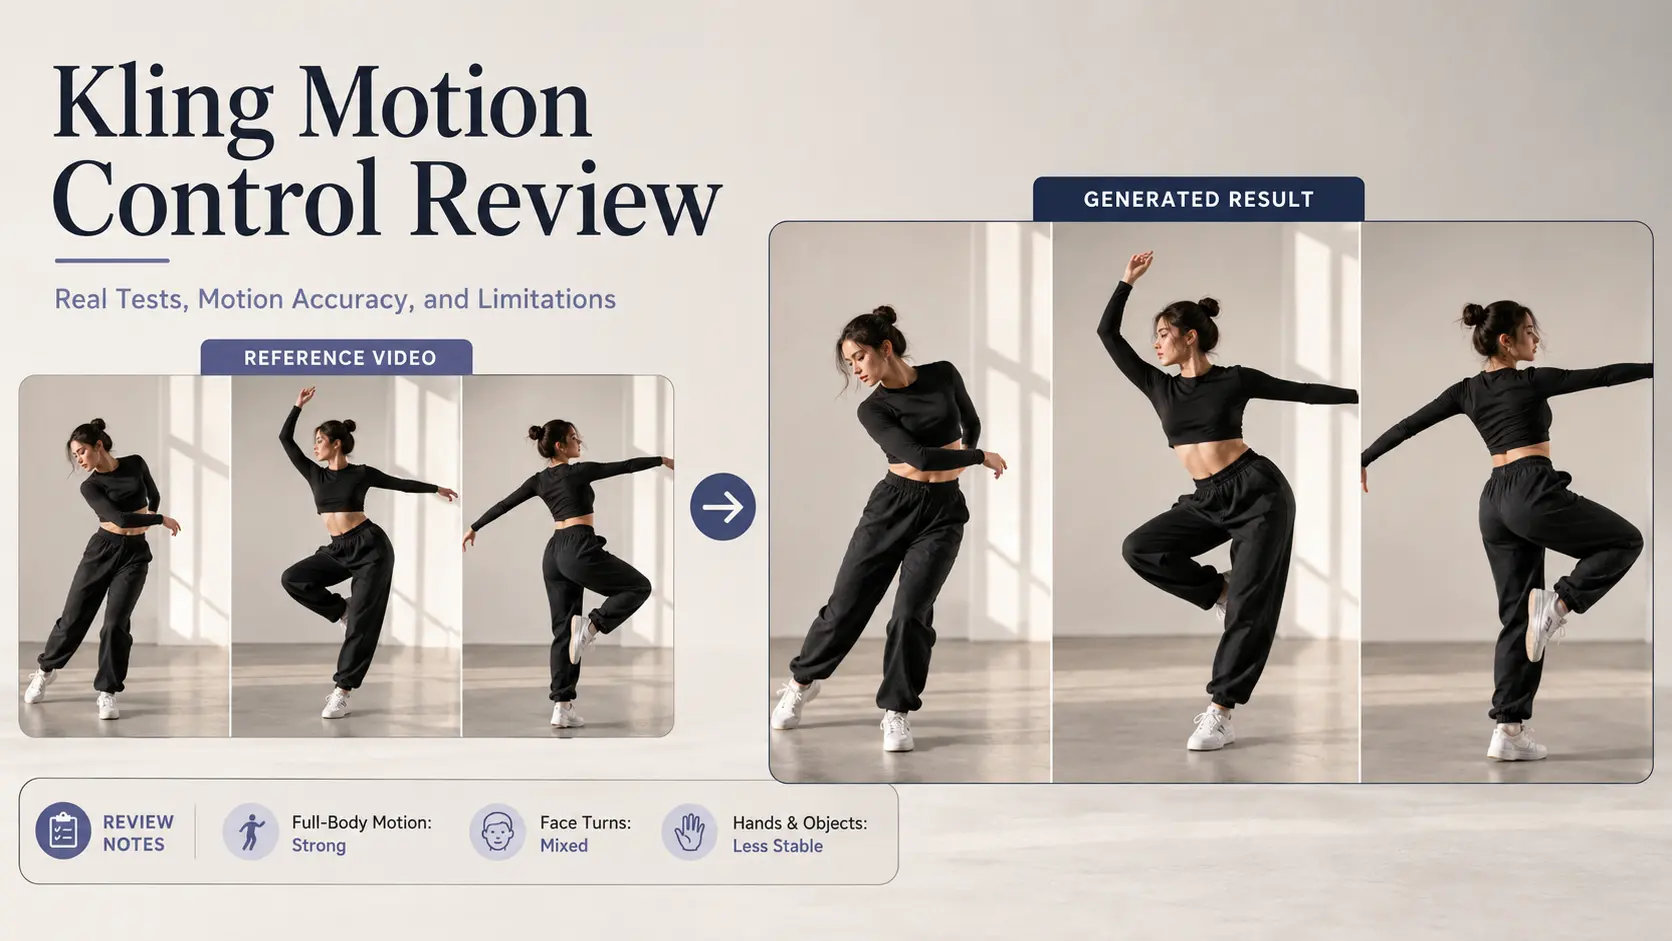
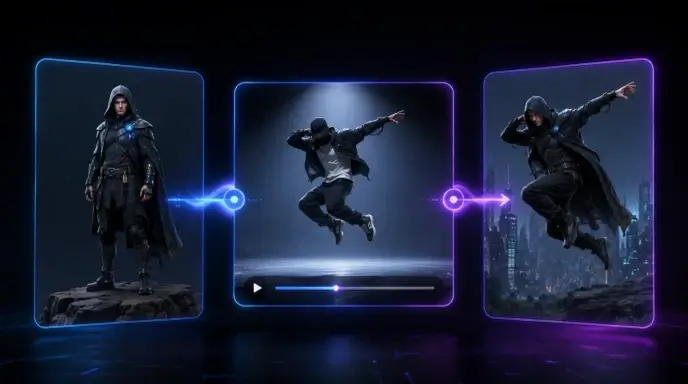
Kling Motion Control transfers the performance in a reference video to a character shown in a static image. Unlike ordinary Image-to-Video generation, it does not rely only on a prompt to guess how the subject should move. The reference clip controls the timing, pose changes, head movement, and much of the expression. Official demos look smooth, but real reliability still depends on motion speed, character framing, face angles, and occlusion. Overall, Kling Motion Control works best for clear, continuous body movements, while hands, props, and very fast action remain less predictable. What Is Kling Motion Control? Kling Motion Control uses a character image and a reference video to transfer real movements—poses, timing, gestures, and some facial expressions—onto the character. Unlike standard Image-to-Video, which generates motion from text prompts, it directly copies performance from the video. Prompts mainly control visual details like background and lighting. Kling 2.6 introduced this reference-based workflow with orientation modes and 3–30 second clips. Kling 3.0 adds Element Binding, allowing extra facial references to improve identity consistency during head turns and expressions. How to Use Kling Motion Control Start by uploading a clear image with one person or humanoid character, then add a continuous reference video without cuts or heavy camera movement. Choose orientation mode: “Matches Video” for dancing, turning, and large movements; “Matches Image” to keep the original direction and allow prompt-based camera control. In Kling 3.0, use Element Binding to add extra face angles or expressions when there are head turns. Then write a short prompt for environment, lighting, or camera—no need to describe the motion again. Focus on input quality: match full-body video with full-body image, keep limbs visible, and leave space around the subject. Use one visible character, moderate movement, minimal obstruction, and a 3–30 second clip. Start with a short, slower test for best results. Kling Motion Control Test Results Full-Body Motion Accuracy Test result: Full-body motion is Kling Motion Control’s strongest area. Walking, waving, dancing, turning, and large arm movements usually follow the reference video more accurately than prompt-only Image-to-Video. Results are most stable when the character image and reference video have similar framing and body proportions. It performs well with: Fast spins, jumps, crossed limbs, and sudden direction changes are less reliable. Common problems include stretched arms, unstable legs, disappearing limbs, and brief body intersections. For better results, use moderate-speed movement, keep the full body visible, and leave enough space around the subject. Face Consistency and Head Turns Test result: Small facial movements work well, but large head turns remain difficult. Blinking, smiling, slight glances, and mild head movement can look natural with a sharp, front-facing source image. Larger turns may cause face flicker, changing facial proportions, or temporary identity loss. Kling 3.0’s Element Binding allows users to add facial images or a short face video. Front, three-quarter, and profile references can improve side views and expression consistency. However, fast expressions, major head turns, and hands covering the face may still cause distortion. Hands and Object Interaction Test result: Simple gestures are usable, but fingers and prop interaction are less stable. Waving, raising an arm, and pointing often transfer well because the overall movement path is clear. Accuracy drops when fingers overlap, hands cross, or gestures move quickly. Common issues include: Holding a cup or phone may work when the grip stays visible. Picking up, rotating, opening, or putting down an object is more difficult because the model must preserve the hand, object shape, contact point, and timing at once. For prop scenes, use slow and simple actions and expect to generate several versions. Kling Motion Control Pricing and Credit Cost Kling charges for Motion Control based on generated duration, with the final length rounded to the nearest whole second. Kling 2.6 costs 5 credits per second in Standard mode and 8 credits per second in Professional mode. Kling 3.0 costs 9 credits per second in Standard mode and 12 credits per second in Professional mode. Model Mode 5 Seconds 10 Seconds 30 Seconds Kling 2.6 Standard 25 credits 50 credits 150 credits Kling 2.6 Professional 40 credits 80 credits 240 credits Kling 3.0 Standard 45 credits 90 credits 270 credits Kling 3.0 Professional 60 credits 120 credits 360 credits Kling 3.0 becomes noticeably more expensive across repeated attempts. A failed 10-second Kling 3.0 Professional generation still consumes 120 credits. Kling also states that credits are not refunded when only part of a difficult motion clip can be extracted. Because fast motion, hand details, head turns, and prop interaction often require retries, it is more economical to test a 5- to 8-second segment before submitting the complete sequence. The listed generation cost only covers one attempt, while the real cost may be higher when a scene requires several retries. Kling Motion Control Review: Pros, Cons, and Final Verdict Category Score Motion Accuracy 8.5/10 Face Consistency 7.5/10 Hand Quality 6.5/10 Ease of Use 8.5/10 Value for Credits 7/10 Overall Rating 7.8/10 Kling Motion Control is considerably easier to direct than prompt-only Image-to-Video. Walking, dancing, waving, and turning benefit from a real performance reference, and creators do not need to describe every movement through complicated prompt language. It is particularly useful for transferring human actions to anime characters, game-inspired avatars, virtual influencers, and concept-video subjects. Its weaknesses appear in fast motion, severe occlusion, crossed limbs, fingers, and detailed prop contact. Large head turns benefit from additional facial references, while repeated generations can quickly increase the real credit cost. Kling 3.0’s Element Binding is a meaningful improvement over Kling 2.6 when facial identity matters. However, the higher credit cost may not be justified for simple front-facing movement without major expression or angle changes. Is Kling Motion Control worth using? Yes, for short-form creators, virtual-character accounts, AI animation, dance clips, and visual concepts that can tolerate some rerendering. Kling 2.6 offers better value for straightforward body movement, while Kling 3.0 is the stronger choice for faces, head turns, and expressive performances. It is less suitable for precise multi-person choreography, complex object handling, or

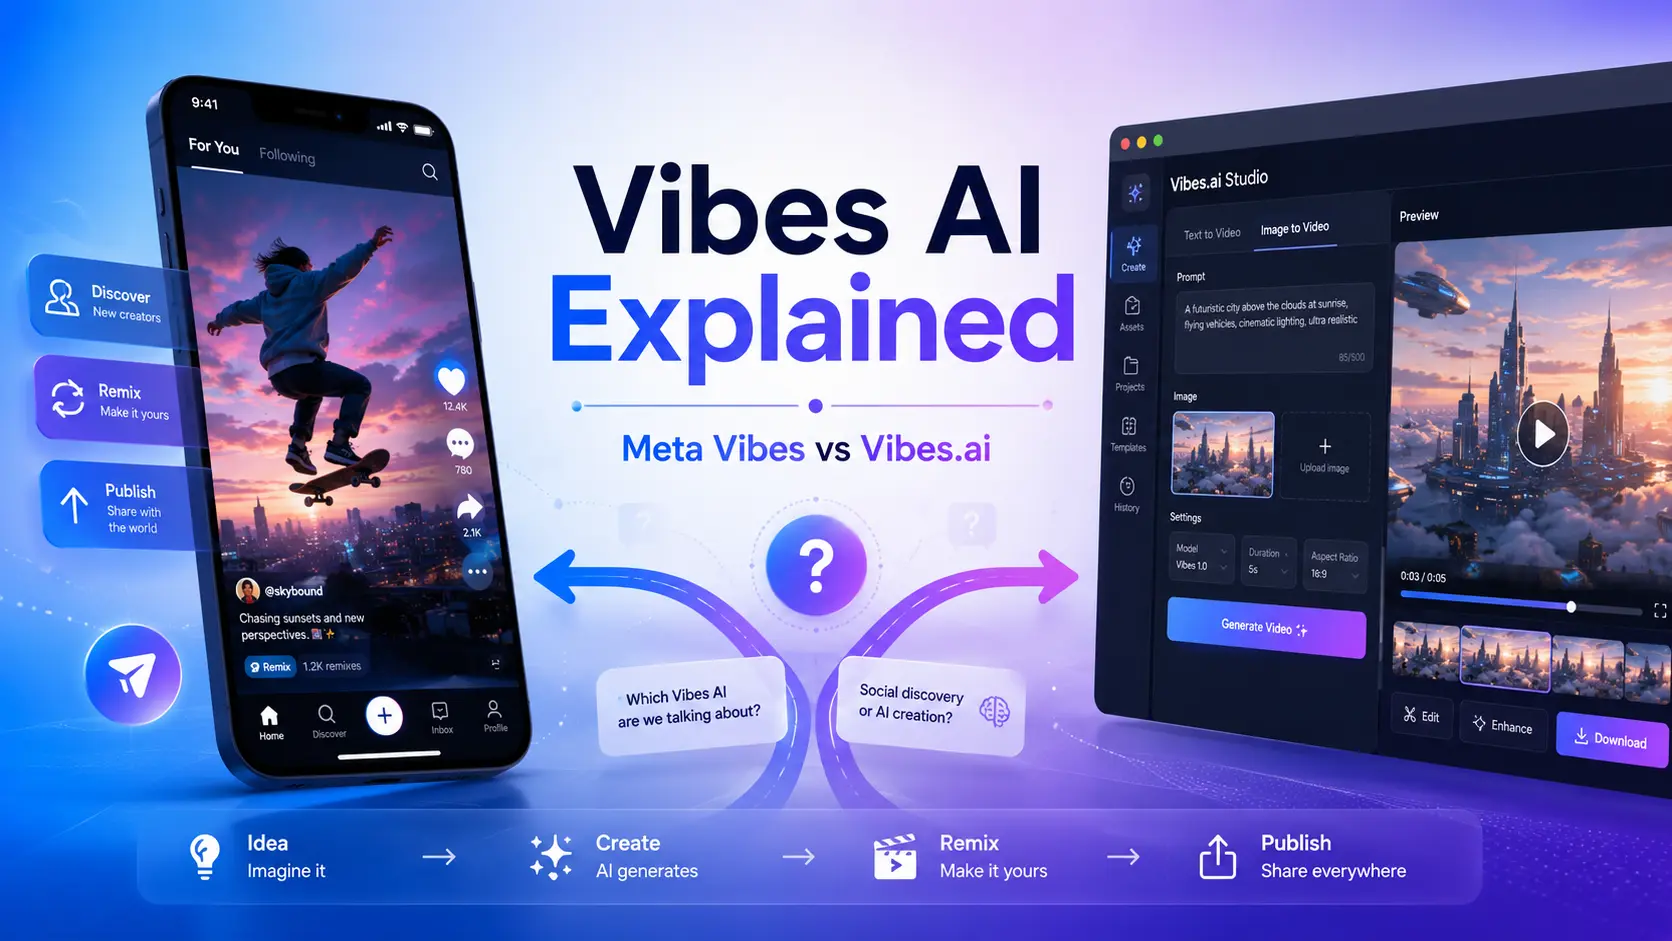
What Is Vibes AI? Meta’s Free AI Video Generator Explained (2026 Guide)

What Is Vibes AI? Meta’s Free AI Video Generator Explained (2026 Guide)

If you opened the Meta AI app to make a video and the generator vanished — you’re not going crazy. Meta moved it, and “vibes ai” has quietly become one of the most confusing search terms in AI video. The problem is that the name points in three directions at once: Meta Vibes (the feed), Vibes.ai (the generator), and a crowd of copycat “vibe” apps that have nothing to do with Meta. On top of that, nobody agrees on whether it’s truly free, whether you can escape the watermark, or why it won’t load in certain countries. This guide untangles all of it in one place. You’ll get a plain-English definition, a step-by-step walkthrough for creating and remixing a video, an honest answer on the free-and-watermark question, fixes for the errors people actually hit, and a use-case comparison against Sora 2 and Veo 3. Last updated: July 2026. What Is Vibes AI? Meta Vibes, Vibes.ai & the Name Confusion Explained Vibes AI usually refers to Meta Vibes, Meta AI’s short-form feed of AI-generated videos you can create, remix, and share. The actual generation now lives on Vibes.ai. It’s currently free during rollout, though aspect ratio, audio, and regional access are still uneven. Meta introduced Vibes in September 2025 as a “discover → create → remix → publish” loop, powered early on by Midjourney and Black Forest Labs models. If you’re here for Meta’s video tool, you’re in the right place — the rest of this section clears up the lookalikes. Meta Vibes vs. Vibes.ai — what’s the difference? Think of them as feed versus factory. Meta Vibes is the social layer — the scrollable feed of AI videos inside the Meta ecosystem, where you browse, remix, and cross-post. Vibes.ai is where the real work happens: generating images and videos, restyling, adding music, and lip-sync. Meta Vibes Vibes.ai What it is AI video feed (discover + remix) Full generation studio Main use Browse, remix, share to Reels/Stories Create from text or image, edit Where Meta AI ecosystem Standalone web property Why Meta moved video generation out of the Meta AI app (2026 update) This is the migration behind the “Meta Ai Vibes WTF” threads on Reddit — one user admitted they “legit thought I was going crazy” looking for the missing generator. Meta pivoted the Meta AI app toward chat and canvas, and shifted full video/image generation to the standalone Vibes.ai property. That split is exactly what most competitor articles miss, because they’re still frozen in the launch-day framing. If your video button disappeared, it didn’t break — it just moved. Other “vibe” tools you might actually mean (quick disambiguation table) Plenty of unrelated products share the “vibe” name. Here’s a one-glance map so you can rule them out fast: Tool What it actually is VIBE app (vibeaiapp.com) Multi-model video generator (Sora, Kling, Veo) VibeMe AI Photo + song → music videos Vibemotion Human + AI timeline editor (MCP-based) vibesai.io Viral short-form content generator Vibe.us Enterprise “contextual workspace” (not video) Landbase “Vibe AI” A B2B go-to-market concept, not a tool How to Use Vibes AI: Step-by-Step (Text-to-Video, Image-to-Video & Remix) Using Vibes AI follows the same simple loop whether you start from words or a picture. Below is the actionable core. Create a video from a text prompt That’s the full discover → create → remix → publish loop in four steps. Image-to-video with start & end frames Image-to-video (I2V) is the feature creators get most excited about. Upload a starting image, and Vibes animates it into motion. Setting both a start and end frame gives you far more predictable movement — you’re telling the model where the shot begins and where it lands, instead of hoping it guesses right. Remix an existing vibe (add music, change image, change animation) Remixing is the social heart of Vibes. On any existing vibe you can Add Music, Change Image, or Change Animation, then republish your version. Finished clips cross-post to Instagram Reels and Facebook Stories, or download for use elsewhere. Key Takeaway: Prefer image-to-video over text-to-video when motion matters — start/end frames give you control that a raw text prompt can’t. How to write a great Vibes prompt (with copy-paste examples) A strong prompt names five things: subject, style, motion, lighting, and camera. Stack them in that order and you’ll get cleaner results. Is Vibes AI Really Free, Unlimited & Watermark-Free? This is the highest-demand question — and the biggest gap between YouTube hype and honest, indexed answers. Here’s the tested reality. The truth about “free and unlimited” (current limits) Vibes is free during Meta’s rollout, and no public price has been announced. But “free” isn’t the same as “unlimited forever” — generation is subject to credit and rate limits, queue times, and beta-stage caps that shift as Meta scales. Treat the “100% free unlimited” clickbait with caution; plan around real limits, especially for longer projects. How to download Vibes videos without a watermark Vibes videos can carry Meta branding, and it’s worth knowing two honest facts. First, posts on Vibes are public and can be used to train Meta AI — factor that into anything sensitive. Second, most “remove the watermark” tricks circulating on YouTube are crops or third-party re-encodes that degrade quality. For genuinely clean exports, the reliable path is generating watermark-free from the start. Want guaranteed watermark-free, 4K video? Use a dedicated image-to-video tool If clean output is non-negotiable, a purpose-built generator avoids the guesswork. AI Image to Video produces watermark-free video up to 4K, with TikTok-optimized presets and multi-model generation (Kling, Veo, Wan) — so you skip Vibes’ watermark and resolution limits entirely while keeping the same image-to-video workflow. Fixing Common Vibes AI Problems (Aspect Ratio, Audio, Region Locks) These are the exact failures people voice in comment sections — and the section most guides skip. Stuck in 9:16? How to get 16:9 for YouTube Vibes leans vertical, which frustrates anyone making horizontal YouTube content. If the interface won’t give you 16:9, your options are to reframe in an editor afterward or generate in a tool with full aspect-ratio control from the outset — the cleaner fix if horizontal is your default. No sound on

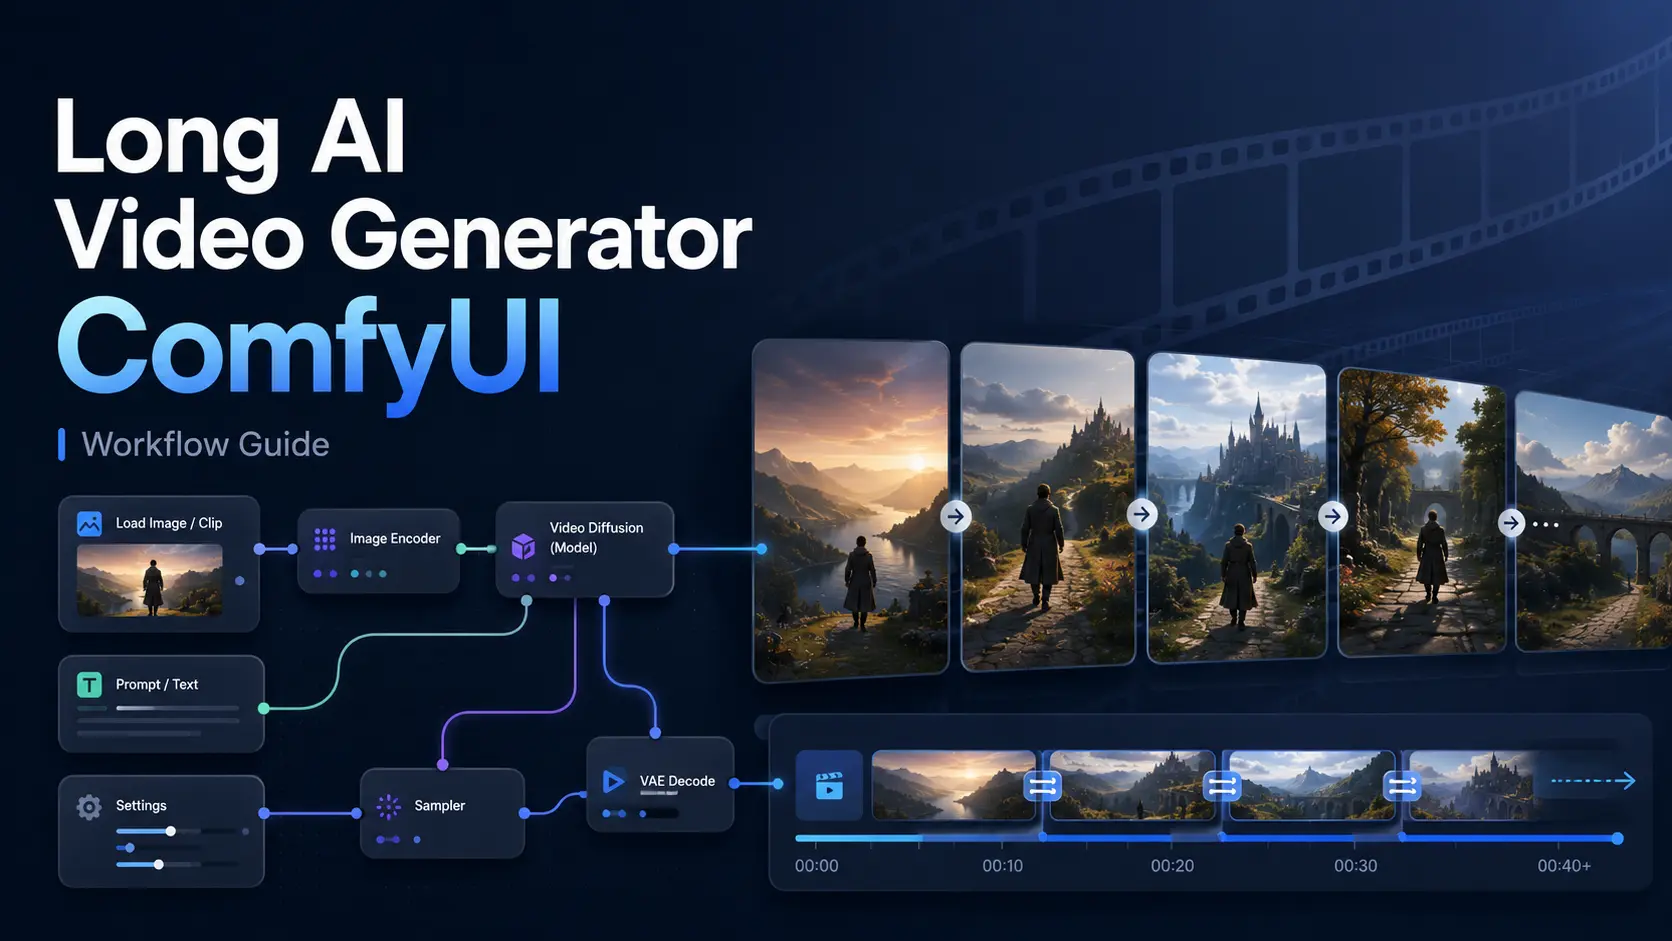
How to Build a Long AI Video Generator in ComfyUI

How to Build a Long AI Video Generator in ComfyUI

Creating a long AI video in ComfyUI involves more than increasing the number of frames in a standard video workflow. Longer videos place greater demands on GPU memory, generation time, motion consistency, and character stability. A practical long AI video generator ComfyUI workflow usually combines three methods: generating a longer initial clip, extending that clip from its final frames, and joining several controlled video segments into one continuous sequence. This guide explains which ComfyUI video models are suitable for longer content, how to build a repeatable workflow, and how to reduce character drift, flicker, visible cuts, and out-of-memory errors. Can ComfyUI Generate Long AI Videos? Yes, ComfyUI can generate long AI videos, but ComfyUI itself is not a video generation model. It is a node-based environment in which models, prompts, reference images, samplers, frame controls, and output tools are connected into a workflow. Its built-in Workflow Templates also provide ready-made starting points for supported video models. The maximum video length depends on the selected model, output resolution, frame count, available VRAM, and whether the video is created in one pass or extended across multiple generations. Native Long-Clip Generation Some models can generate relatively long continuous clips in a single workflow. However, the advertised maximum duration should not be treated as the guaranteed stable duration for every prompt and resolution. For example, the older LTXV 13B 0.9.8 release introduced long-shot generation of up to 60 seconds. The newer LTX-2 model focuses on synchronized audio and video clips of up to approximately 10 seconds, while also supporting multi-keyframe conditioning and video extension. Long single-pass generation works best when the scene has a clear subject, one main action, consistent lighting, and limited camera changes. Flexible Video Extension Video extension is usually the more practical way to create longer content. Instead of asking the model to generate an entire sequence at once, you generate the opening clip and then use its final image or final frames as the condition for the next clip. LTX Video officially supports forward and backward extension, as well as conditioning from images, short video segments, and multiple keyframes. This makes it possible to continue a scene while preserving its general composition and motion direction. Seamless Multi-Clip Generation More complex videos are often divided into short scenes. Each scene is generated separately, but the ending of one clip is designed to match the beginning of the next. The clips can then be combined with overlapping frames, frame interpolation, optical-flow processing, or a short crossfade. This approach provides more control over the story and reduces the risk of wasting a long generation because of an error near the end. Best ComfyUI Models for Long Video Generation The best model depends on what kind of long video you want to create. A cinematic scene, a talking character, and a sequence built around fixed keyframes require different workflows. Model Best for Long-video method Main limitation LTX Video Cinematic clips and continuous camera motion Longer clips, keyframes, and video extension High-quality workflows can require significant VRAM Wan2.2 I2V or T2V General image-to-video and text-to-video creation Short controlled clips and multi-scene generation Larger models increase generation time and memory use Wan2.2 First-Last Frame Planned transitions and controlled endpoints Generate between a defined opening and ending frame Requires suitable start and end images Wan2.2-S2V Talking, singing, and performance videos Audio-driven minute-level generation Designed for human-centered audio-driven videos High-Quality Cinematic Clips with LTX Video LTX Video is suitable for creators who want smooth camera movement, cinematic framing, detailed prompts, and control over several points in a video. Its current ecosystem supports image-to-video generation, multiple keyframes, video extension, video-to-video transformation, and synchronized audio-video generation. The official LTX-2 ComfyUI custom-node workflow recommends a CUDA-compatible GPU with at least 32GB of VRAM, although older, distilled, or quantized LTX versions can be more accessible. Consistent Keyframe-Controlled Videos with Wan2.2 Wan2.2 is useful when you need stronger control over how a clip starts or ends. ComfyUI provides official templates for Wan2.2 text-to-video, image-to-video, and first-last-frame workflows. In the first-last-frame workflow, users load two images, set the output dimensions, and write a prompt describing the movement between them. This is especially useful for transitions, planned camera moves, product reveals, and clips that must connect to another scene. Audio-Driven Long Videos with Wan2.2-S2V Wan2.2-S2V is designed for videos driven by a character image and an audio track. It can create dialogue, singing, and performance videos with synchronized facial expressions and body movement. The official ComfyUI workflow describes it as supporting minute-level generation, but it is not a general-purpose text-to-video model. It is most suitable when the long video centers on one visible person performing according to an audio input. How to Generate a Long AI Video in ComfyUI The following workflow combines short-clip generation, video extension, and final assembly. Exact node names may vary by model, but the process remains similar. Step 1: Choose a Suitable Long Video Workflow Start by matching the model to the content: Update ComfyUI before loading a recent workflow. You can open supported templates through Workflow > Browse Workflow Templates. ComfyUI checks whether the required models are available and may prompt you to download missing files. Step 2: Load the Model and Source Media A typical workflow may require a diffusion model, text encoder, VAE, reference image, input video, or audio encoder. For image-to-video generation, choose a clear reference image with a visible subject and readable background. Avoid heavily blurred images, cropped faces, unclear hands, or conflicting light sources. A stable starting image gives the model a stronger visual condition to preserve in later clips. Step 3: Set Frames, Resolution, and FPS Begin with moderate settings rather than immediately targeting the final quality. Generate a short, lower-resolution test to check the prompt, motion direction, camera movement, and subject stability. Increasing the frame count creates more generated frames, but it also increases processing time and VRAM use. Increasing FPS mainly changes playback timing and smoothness. Frame interpolation can create additional in-between frames, but it does not add new actions,

Seedream 5.0 Pro: Unlock The Most Suitable Prompting for AI Image

Seedream 5.0 Pro: Unlock The Most Suitable Prompting for AI Image

Seedream 5.0 Pro is ByteDance Seed’s new AI image generation and editing model, built for more controlled visual creation. As image models become more powerful, prompts also need to evolve. A simple subject + style prompt is no longer enough if you want structured infographics, UI mockups, commercial visuals, multilingual posters, or precise image edits. The real question is: how should you prompt Seedream 5.0 Pro differently? This guide breaks down official Seedream 5.0 Pro examples and turns them into reusable prompt formulas. What Makes Seedream 5.0 Pro Different? Seedream 5.0 Pro is useful because it is built closer to a design tool than a simple image generator. It does not only create attractive visuals. It tries to understand how information, objects, text, and design elements should be arranged inside an image. Information-heavy images better One of the biggest upgrades is complex information visualization. ByteDance says Seedream 5.0 Pro can turn data, concepts, and dense text into professional layouts. This makes it useful for infographics, educational posters, comparison charts, product explainers, report visuals, and social media knowledge cards. This matters because information images are difficult. The model has to plan the layout, place text correctly, separate sections, keep the hierarchy readable, and still make the image look good. More precise editing Seedream 5.0 Pro is also designed for interactive precision editing. According to the official release, it can use spatial positioning and regional understanding to support point selection, lasso selection, sketch rendering, color editing, material replacement, and multi-image fusion. In simple terms, you can ask it to change one part of an image without regenerating everything. For example, instead of saying “make this room look better,” you can say: change only the sofa fabric, keep the lighting and room layout unchanged. That kind of prompt is much more useful for real design work. ByteDance also demonstrates layer separation in its official materials. However, as of this writing, the layer separation workflow is not yet broadly available in every public product workflow, so this guide will not treat it as a ready-to-use core method. Realistic commercial visuals Seedream 5.0 Pro also focuses on realistic lighting, material behavior, skin texture, reflections, architecture, and photographic quality. This makes it useful for product ads, fashion visuals, portrait photography, interior design, lifestyle images, and cinematic still frames. For creators, this means the model can help produce more polished source images before turning them into videos. Multilingual image generation Seedream 5.0 Pro can also work with multilingual prompts and generate text in more than ten commonly used languages, including Chinese, English, French, German, Russian, Japanese, Korean, Spanish, and Arabic. This is useful for global ads, localized posters, multilingual social posts, and international marketing visuals. How Official Seedream 5.0 Pro Prompts Work The official examples show that Seedream 5.0 Pro performs best when the prompt is structured like a design brief. Official example: Antarctic research infographic One official example asks Seedream 5.0 Pro to create an infographic about scientific research at Antarctica’s Qinling Station. The prompt does not simply say “make an infographic about Antarctica.” It asks for the main Qinling Station building in the center. Around it, the model should add a timeline, bar chart, pie chart, line chart, equipment photos, weather panel, fieldwork flowchart, and sampling photography. The lesson is simple: Tell the model what sections, charts, cards, labels, and panels should appear. As we early users find, if you don’t specify the layout, labels, or information hierarchy, the model often won’t invent them for you. While this requires more detailed prompting, it also gives creators much more control over the final design. Official example: pet e-commerce homepage UI The pet e-commerce example is useful for UI and landing page creators. The prompt asks for a 16:9 pet e-commerce homepage in warm sunset tones. It includes a top navigation bar, left-side text area, product cards, a capsule-shaped button, and a right-side Golden Retriever image. The most brilliant creative touch in this UI design is the cross-layer interaction: the dog’s paw breaks out of the right frame and presses the button on the left. This shows that Seedream 5.0 Pro can understand spatial relationships inside a designed layout. But achieving this requires a clearly detailed prompt, as it is not something the model generates automatically. Official example: material and color editing This is one of the cases I feel most interesting. Another official case uses multiple references: Image 1 provides material, Image 2 provides a color swatch, and Image 3 is the sofa image to edit. The lesson is important: When you upload multiple reference images, give each image a job. Surprisingly, Seedream 5.0 Pro also has no trouble understanding handwritten draft instructions. This means that even when you’re outdoors, as long as you have a smartphone or an iPad, you can simply sketch your editing requirements directly onto the original image—eliminating the need to type out lengthy, essay-like prompts. Official example: panning shot photography Seedream 5.0 Pro also shows a panning shot example. The prompt keeps the cyclist and bicycle sharp, stretches the background into horizontal motion blur, and adds rotational blur to the wheel spokes. This is useful for image-to-video creators. A motion-ready still image gives the video model a stronger starting point. Seedream 5.0 Pro Prompt Formula Based on the official examples, Seedream 5.0 Pro prompting can be grouped into four practical categories. 1. Informational Visual Prompt Use this for infographics, educational posters, comparison charts, beginner guides, product explainers, report visuals, tutorial cards, and grid-based knowledge images. The goal is to help the model organize information clearly. Formula: “Create a [visual format] about [topic]. Use a [layout type] layout. Include [main subject or title]. Add [module/card 1], [module/card 2], [module/card 3], and [module/card 4]. Each section should include [labels / short descriptions / icons / charts / illustrations]. Keep the hierarchy clear, text readable, and design style [style].” Example: “Create a 16:9 educational infographic about how AI image-to-video generation works. Use a clean modular layout. Place a source image in the center.


Seed Audio 1.0 Explained: AI Dialogue, Music & SFX

Seed Audio 1.0 Explained: AI Dialogue, Music & SFX

AI video is moving fast. Today, you can turn a still image into motion, create cinematic camera movement, generate short ads, or build social media clips with AI in minutes. But one problem still makes many AI videos feel unfinished. Sound. A video can look cinematic, but if the voice feels flat, the background is silent, or the sound effects do not match the action, the whole scene loses its impact. That is why Seed Audio 1.0 is worth paying attention to. Also known as Doubao-Seed-Audio 1.0, this new AI audio generation model is not just another text-to-speech tool. It is designed to generate complete audio scenes from prompts, including dialogue, emotion, background music, ambience, and sound effects. In other words, Seed Audio 1.0 is not only making voices. It is trying to direct sound. What Is Seed Audio 1.0? Seed Audio 1.0 is an AI audio generation model that can turn text prompts and audio references into target audio. That sounds simple, but the idea behind it is much bigger. Most AI voice tools only read text aloud. You type a script, choose a voice, and get a voiceover. Seed Audio 1.0 goes beyond that. It can generate: Character dialogue. Emotional tone. Accents and dialect-style delivery. Background music. Ambient sound. Foley and sound effects. Non-verbal details like laughter, sighs, breathing, and pauses. This means creators can describe a full audio scene in one prompt instead of building every sound layer manually. For example, you could describe a rainy street scene with two characters talking, soft suspense music, distant traffic, footsteps, and a nervous emotional tone. A traditional TTS tool may only generate the spoken lines. Seed Audio 1.0 is designed to understand the whole sound scene. That is the real difference. Why Seed Audio 1.0 Feels Different The biggest problem with traditional AI audio workflows is fragmentation. You need one tool for voice. Another tool for music. Another tool for sound effects. Another editor to align everything. Then you still need to mix the volume, adjust timing, and make the final audio feel natural. For professional editors, this is normal. For everyday creators, it is a headache. Seed Audio 1.0 changes the workflow by putting more of the audio direction into a single prompt. Instead of thinking like an editor, the user can think like a director. You do not just write what someone says. You describe how the whole scene should sound. That is why Seed Audio 1.0 feels more like an AI audio director than a basic AI voice generator. One Prompt, Full Audio Scene The most important breakthrough of Seed Audio 1.0 is full-scene audio generation. A single prompt can include multiple audio layers at once. You can define who is speaking, what they are saying, how they feel, what is happening in the background, what music should play, and which sound effects should appear. This is useful because real content is never just one sound. A short film needs dialogue, silence, tension, footsteps, room tone, and music. A product ad needs voiceover, impact sounds, background rhythm, and brand atmosphere. A podcast intro needs host energy, music, pacing, and clean transitions. A game trailer needs environment, character voices, weapons, movement, and cinematic sound design. Seed Audio 1.0 tries to generate these elements together instead of forcing creators to assemble them piece by piece. For creators, this can reduce editing time. For beginners, it lowers the barrier to audio production. For AI video users, it can make generated videos feel more complete. Multi-Character Dialogue Without Losing the Voice Another important feature is multi-character dialogue. Many creative projects need more than one voice. A short drama may need two characters arguing. A podcast may need a host and a guest. An audiobook may need different roles. A game scene may need a narrator, a hero, and a villain. Seed Audio 1.0 allows creators to define multiple characters in one prompt, including their lines, emotions, and speaking rhythm. More importantly, it is designed to keep different character voices consistent. This matters more than it sounds. In AI-generated audio, a character can easily “drift.” They may sound one way in the first part and slightly different later. For a short clip, that may be acceptable. For a long story, it breaks immersion. If a character sounds like a different person after a few minutes, the audience notices. Seed Audio 1.0 focuses on keeping the voice stable across longer audio creation, which is especially valuable for audio dramas, podcasts, audiobooks, and serialized AI videos. Long Audio Is Where It Gets Serious Generating one good line is not the hard part anymore. The hard part is consistency. Can the same character still sound like the same person after one minute? After five minutes? Across multiple scenes? This is one of the major pain points Seed Audio 1.0 tries to solve. According to the official information, Seed Audio 1.0 currently supports up to 2 minutes of audio creation at a time. That generated audio can also be used as a reference input to extend the audio while keeping the voice style more consistent. This makes it more useful for long-form content. Think about audiobooks, podcast episodes, brand stories, educational narration, or AI short drama series. These formats do not only need good voice quality. They need reliable voice identity. If Seed Audio 1.0 can maintain that consistency in real workflows, it could become much more than a demo model. It could become part of a serious content production pipeline. Zero-Shot Audio Creation: No Training Needed Seed Audio 1.0 also supports zero-shot multimodal audio creation. That means creators do not need to train a custom model before generating a specific voice or sound style. They can use text descriptions, reference audio, or both. This gives users more flexibility. You can describe a voice by age, emotion, accent, personality, and scene context. You can also provide a reference audio clip to guide the output more directly. Another interesting point is style control. The same

Nano Banana AI Free: Complete Guide to Free Access, Limits, and Best Platforms (2026)

Nano Banana AI Free: Complete Guide to Free Access, Limits, and Best Platforms (2026)

Nano Banana AI leads LMArena’s image generation leaderboard with an Elo score of 1,360 — and you can use it at zero cost. But “free” carries fine print that most guides skip. Daily caps get slashed without notice, invisible watermarks are woven into every pixel, and confusing billing setups have led users to rack up accidental charges exceeding $2,000. This guide gives you a tested, honest breakdown of every free access method in 2026 — with verified limits, resolution details, and a multi-platform strategy for when credits dry up. What Is Nano Banana AI? (Quick Primer for Beginners) Nano Banana is Google’s AI image generation technology within the Gemini ecosystem. You describe what you want, and the model produces a detailed image in seconds. Nano Banana vs Nano Banana Pro vs Nano Banana 2 — What’s the Difference? Why Nano Banana AI Is the #1 Rated Image Generator in 2026 Nano Banana Pro tops the LMArena leaderboard at Elo 1,360 with 94% text-in-image accuracy, character consistency for up to 14 people, and generation speeds as low as 4 seconds. That combination explains why free access is in such high demand. Is Nano Banana AI Really Free? (The Honest Answer) Yes — Nano Banana AI is genuinely free, with limits. The Gemini app gives you roughly 20 NB2 and 2 NB Pro images daily. AI Studio offers 50 free requests. Flow grants up to 150 credits. Platforms like VideoPlus.ai don’t even require a Google account. The trade-off? Every free option restricts volume, resolution, or content. What You Get for Free on the Google Gemini App Expect approximately 20 NB2 and 2 NB Pro images per day — no credit card needed. Every output carries Google’s SynthID watermark at the pixel level. One common frustration: Google defaults to NB2, so you’ll have to regenerate to receive Pro-quality results. Free Tier on Google AI Studio (Best for Developers) AI Studio provides 50 free requests daily and applies a more lenient content filter than the Gemini app. The risk? Billing setup can be confusing — multiple users have reported surprise charges when they mistakenly routed requests through Google Cloud instead of Studio’s free tier. Free Access via Google Flow (Up to 150 Daily Credits) Google Flow lists NB Pro and NB2 at 0 credits, yet real-world testing reveals a lockout after about 100 images within 24 hours. Additional downsides include a 1K resolution cap, the strictest content filtering of any platform, only five preset aspect ratios, and no 1:1 option. Free Access Without a Google Account No Google account? No problem. VideoPlus.ai delivers NB2 generation with no sign-in, no watermark, and immediate download. LMArena offers free NB Pro at 2K resolution, though model availability may fluctuate over time. Quick-Reference Comparison Table Platform Model Daily Limit Resolution Watermark Sign-Up Gemini App NB2 + NB Pro ~20 NB2, 2 Pro Up to 4K SynthID Google account AI Studio NB2 + NB Pro 50 requests Up to 4K SynthID Google account Google Flow NB2 + NB Pro ~100 images 1K SynthID Optional VideoPlus.ai NB2 Varies 1K–4K None None LMArena NB Pro Varies 2K None None Krea.ai NB2 Varies Varies None Optional Lovart AI NB2 + NB Pro Daily credits Up to 4K None Free account How to Use Nano Banana AI for Free (Step-by-Step Methods) Five methods, ordered from simplest to most technical. Method 1 — Google Gemini App (Easiest, No Credit Card) Open the Gemini app, type your image prompt, and generate. Works across mobile and desktop. Your daily allocation resets every 24 hours — no setup beyond a Google account. Method 2 — Google AI Studio (Best Free Tier for Developers) Head to AI Studio, select a model, and prompt away — 50 free requests per day. Set billing alerts immediately to avoid surprise charges. Method 3 — Google Flow (Most Credits, Heaviest Restrictions) Visit Google Flow and select Nano Banana — roughly 100 images before a 24-hour cooldown. Be aware of the 1K resolution cap and the strictest content filtering of any platform. Method 4 — Third-Party Platforms (No Google Account Required) For the absolute lowest barrier, visit VideoPlus.ai — no login, no watermark, instant downloads. Krea.ai offers canvas-based spatial editing, and Lovart AI provides design-oriented workflows. Method 5 — Google Cloud $300 Free Credit (2,000+ Generations) New Google Cloud accounts get $300 in free credits — roughly 1,250+ high-resolution 4K generations at $0.24 per image. Claim credits at Google Cloud and set a budget cap immediately to prevent accidental charges. Best Free Platforms for Nano Banana AI in 2026 (Tested and Compared) VideoPlus.ai — No Sign-In, No Watermark, Instant Download The lowest-friction option. NB2 generation from 1K to 4K, multilingual text rendering, and character consistency for up to five subjects per session — all without creating an account. LMArena — Free High-Quality Nano Banana Pro Direct NB Pro access at 2K with no watermarks. Includes model comparison and voting tools. Caveat: model availability can shift — check before relying on it. Krea.ai — Canvas-Based Editing with 30M+ Users Unique canvas overlay tool for spatial edits — drag arrows, add annotations, combine images. NB2 plus Krea 2, Veo 3.1, and more. No account needed for basics. Lovart AI — Free 4K Output for Designers Free daily credits for 4K generation with both NB2 and NB Pro. Includes dedicated brand design tools — well suited for professional creative projects. Google Whisk — Beginner-Friendly Image Remixing Whisk blends a subject, scene, and style into a single image. “Precise Mode” adds granular control, and you receive five free image-to-video conversions monthly via Veo3. Some features remain US-only. HailuoAI — Nano Banana Pro on a Video-First Platform 4K output in roughly 8 seconds with multi-style artistic modes. Best for creators who want image generation and video tools in one place. Free vs Paid: Is the Free Tier Good Enough? What You Can Do for Free Free-tier output quality is identical to paid — the gap is volume, not fidelity. For a few social media posts daily, personal

FAQs About the Vidu AI Video Generator

Is Vidu AI safe to use for commercial projects?

Yes, Vidu AI is safe to use for both personal and commercial projects. The platform adheres to strict data privacy standards, ensuring your uploaded images and prompts are not used to train public models without your clear consent, protecting your intellectual property.

What are the exact Vidu AI free tier details?

The Vidu AI free tier details include a daily allocation of generation credits, allowing you to create several short clips every day. While Vidu AI free users have access to standard resolution and basic motion controls, premium features like extended durations require an upgrade.

How does Vidu AI pricing compare to competitors?

Vidu AI pricing is highly competitive, offering a pay-as-you-go model alongside monthly subscriptions. Compared to other tools, our Vidu AI video generator provides more compute minutes per dollar, ensuring you get maximum value without paying for unused enterprise features.

Is there a dedicated Vidu AI app for mobile devices?

Yes, the Vidu AI app is available for both iOS and Android, offering a streamlined interface for on-the-go creation. While the mobile app is great for quick edits, we recommend using the desktop Vidu AI studio for complex motion control and high-resolution batch rendering.

How does the Vidu AI reference to video feature work?

The Vidu AI reference to video feature allows you to upload an existing MP4 clip to guide the motion of your new generation. The reference to video AI analyzes the camera movement and subject dynamics, applying them to your new image or text prompt for consistent results.

Can I use the AI kiss generator for realistic human interactions?

Yes, the AI kiss generator is specifically fine-tuned to handle complex human interactions without morphing artifacts. Combined with our AI hugging physics engine, it ensures that facial proximity, hand placement, and body mechanics remain natural and anatomically correct throughout the scene.

Does Vidu AI anime support custom character LoRAs?

Yes, the Vidu AI anime model supports custom LoRA integration, allowing you to maintain strict character consistency across multiple scenes. This ensures your Vidu AI video features the exact same character design, line weight, and color palette as your original 2D illustrations.

Why is this considered the best Vidu AI alternative free?

It is considered the top Vidu AI alternative free because it offers advanced features like motion control and reference video mapping without forcing immediate paid subscriptions. Unlike other sites like Vidu AI, we provide a genuinely usable free tier for serious creators.